|
|
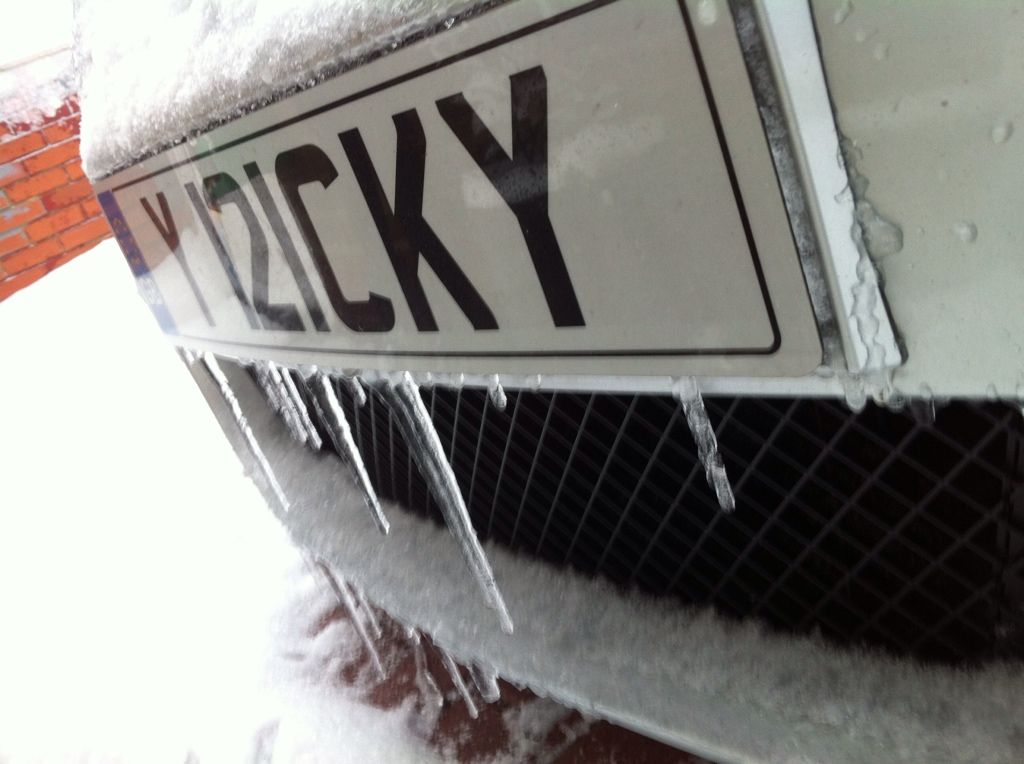
Post by Ricky180B on May 11, 2013 23:23:20 GMT 1
|
|
|
|
Post by Al Ramone on May 12, 2013 0:15:25 GMT 1
nice one Ricky and all those involved in getting this sorted. oh and Ricky, much respect for putting the time money and effort into fixing these old cars  |
|
Eric
club Member

Posts: 197
Location: Heerhugowaard - Netherlands
|
Post by Eric on May 12, 2013 6:58:32 GMT 1
wow, nice work, i like this. Keep us posted.
|
|
|
|
Post by spottedlaurel on May 12, 2013 7:00:38 GMT 1
Excellent that this has ended up with 'one of us', particularly someone so passionate about the 810! Is this one going to stay more-or-less standard and the original colour?
|
|
|
|
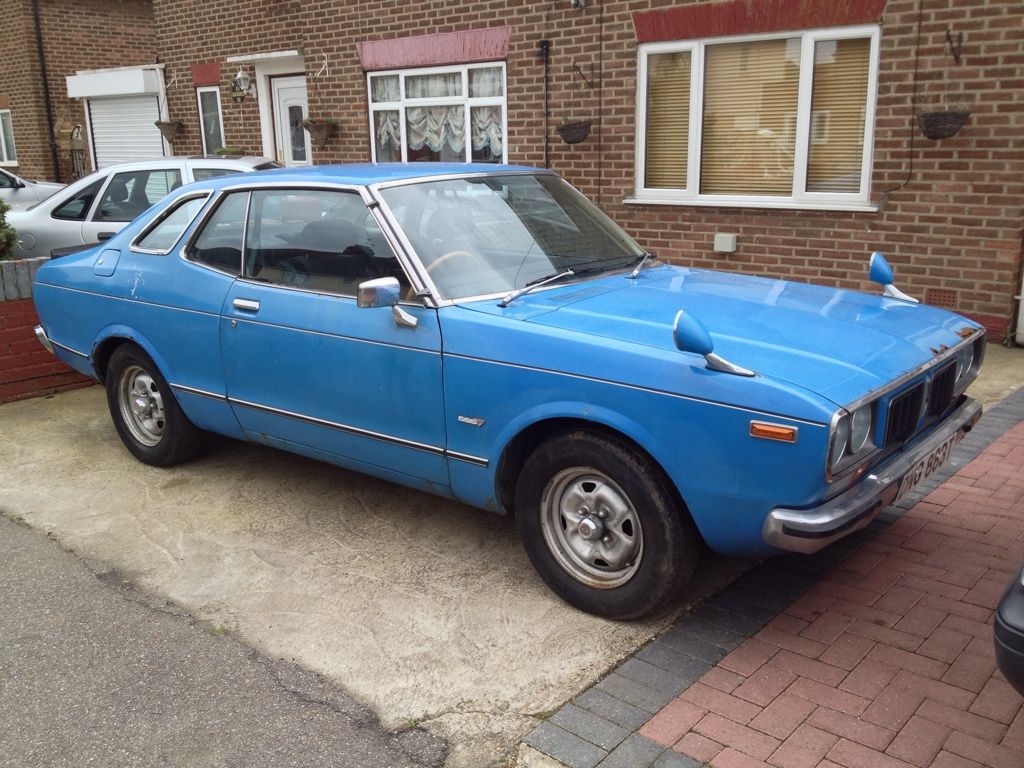
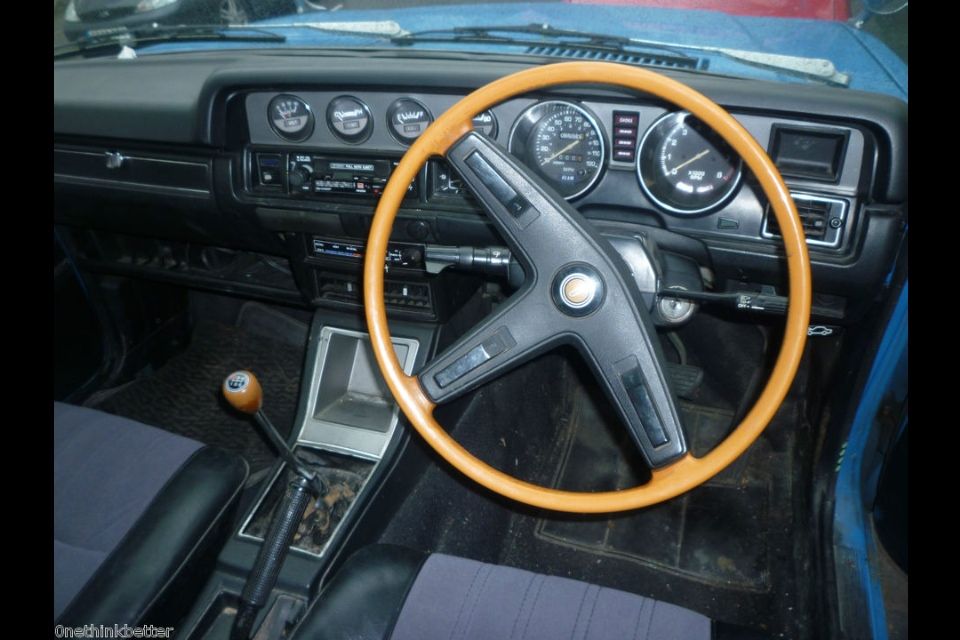
Post by Ricky180B on May 12, 2013 7:15:20 GMT 1
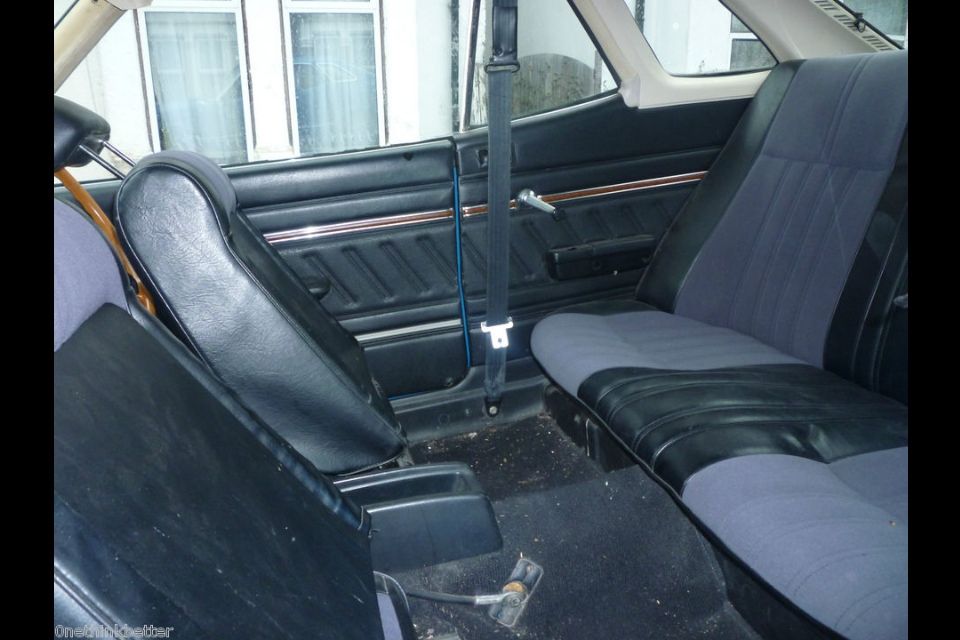
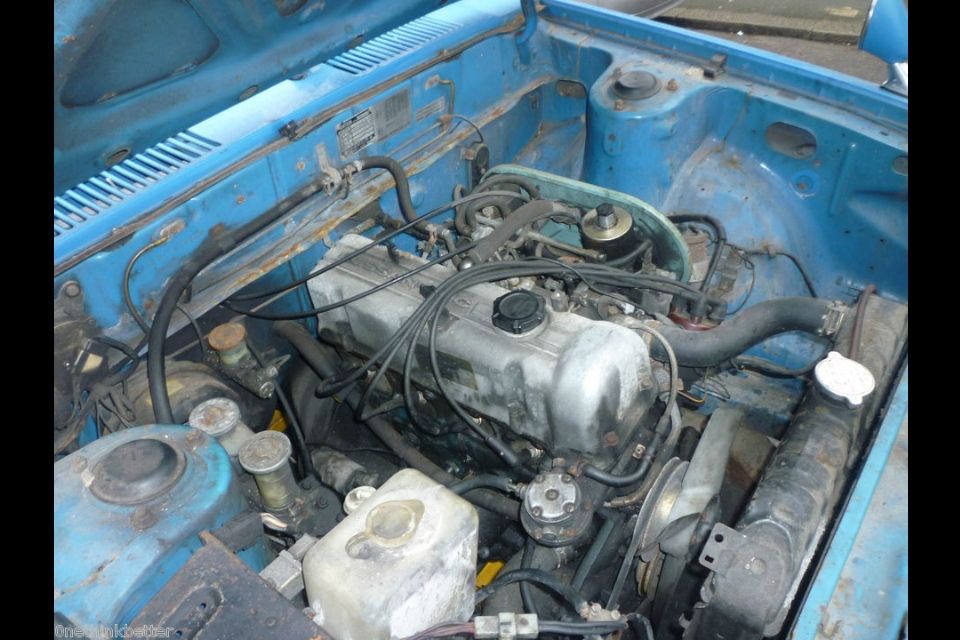
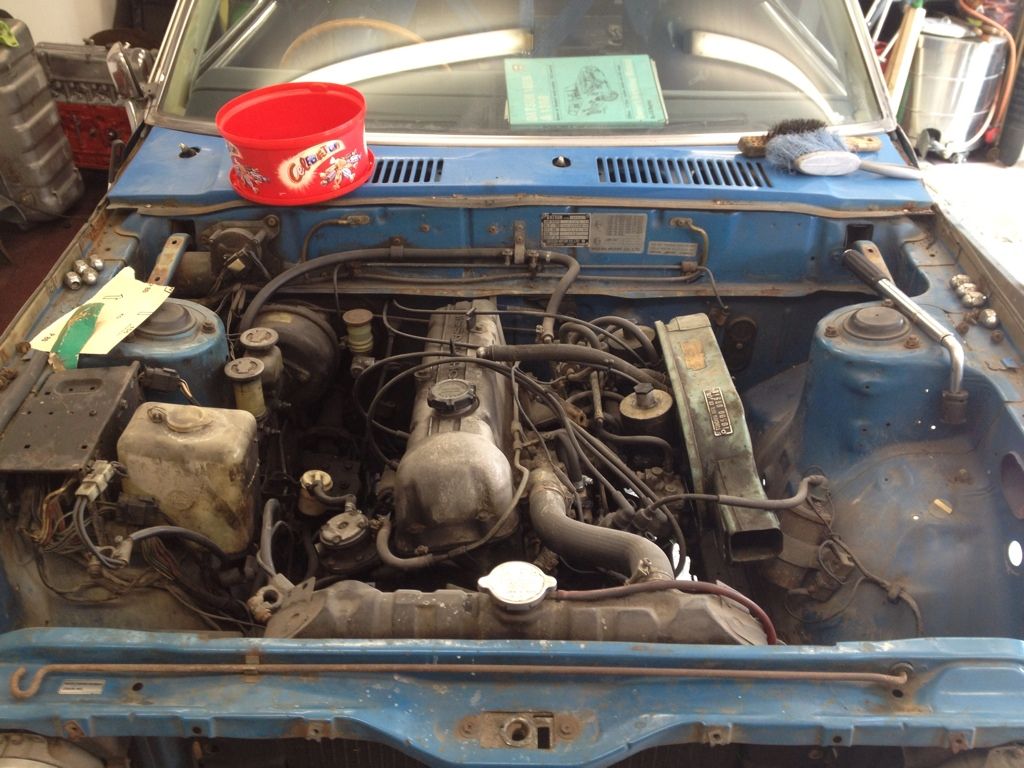
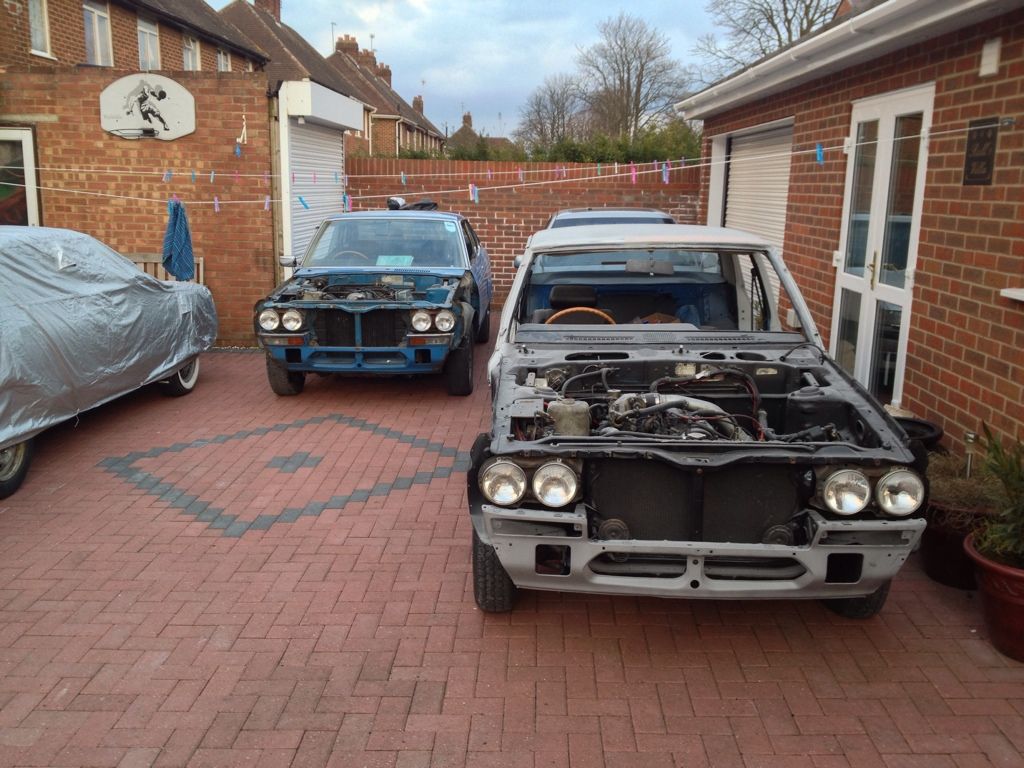
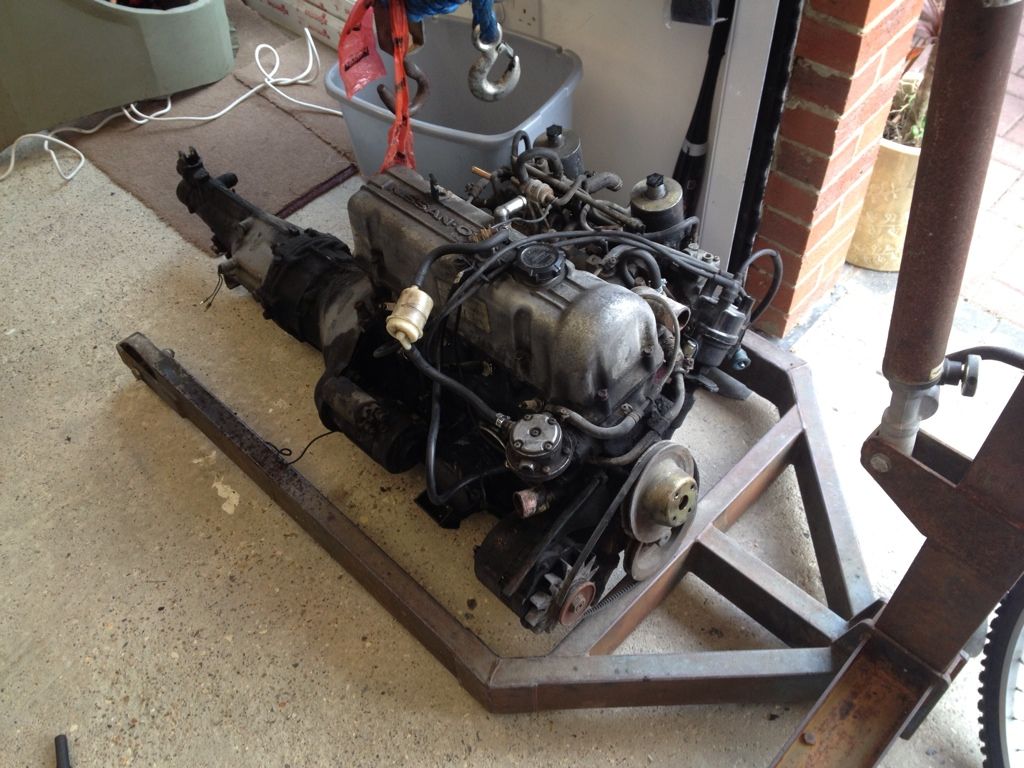
Thanks guys for the comments. It has been a serious struggle loads of stress and pain not to think about money and time. I just had to get it as it was a very very big dream for me to own a 810 SSS. I'm over the moon. So the end result. Will be standard engine, gearbox and interior. Exterior will be slightly lowered with the lotus looking wheels like the ones Al is selling I hate the colour it's the same as what YPK was so it will be re sprayed sky blue like DJT. The car I'm looking at was a SSS reg AUP that's exactly what I would like as the look.
|
|
|
|
Post by Talking Hoarse on May 12, 2013 7:41:25 GMT 1
Well done again Ricky and thanks for sharing all the pics. May I suggest cavity wax as well as underseal as a preservative - to help stop /slow the rot from inside the box sections (that has caused a lot of damage so far)?
Ed
|
|
|
|
Post by Damien4884 on May 12, 2013 19:50:37 GMT 1
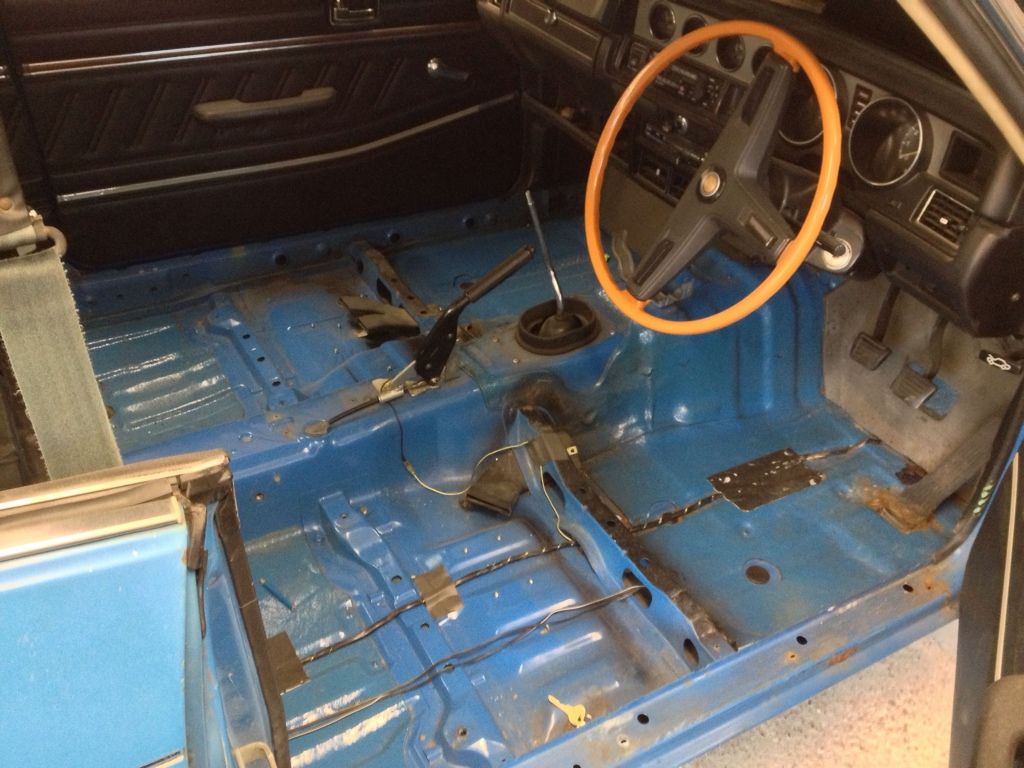
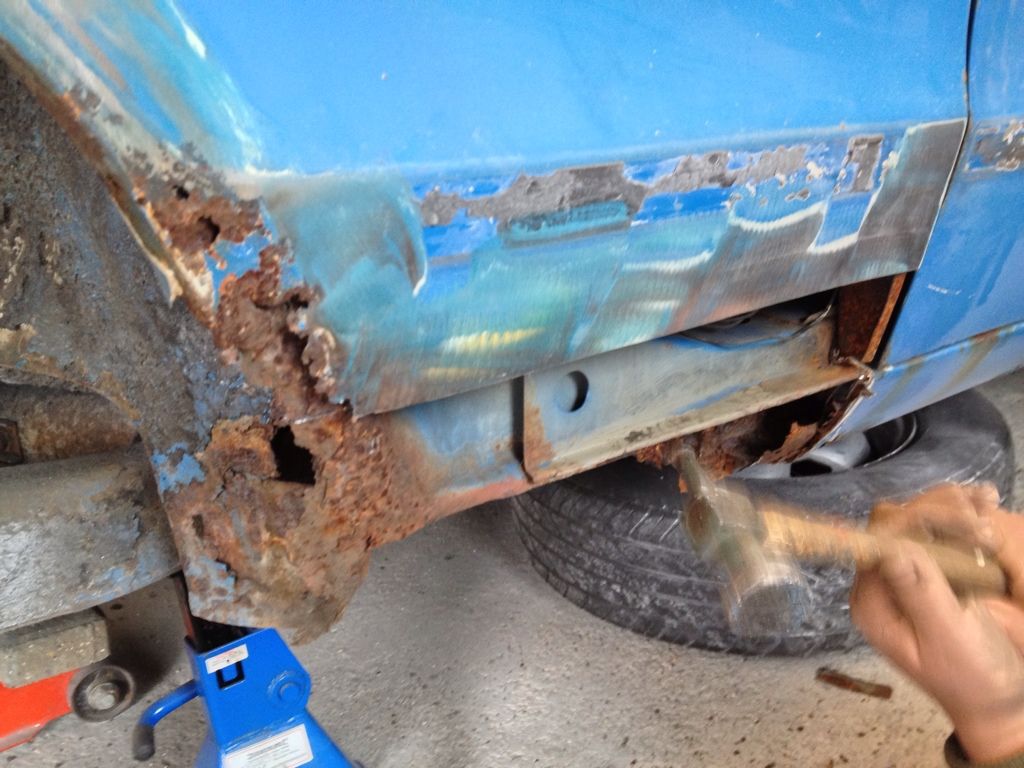
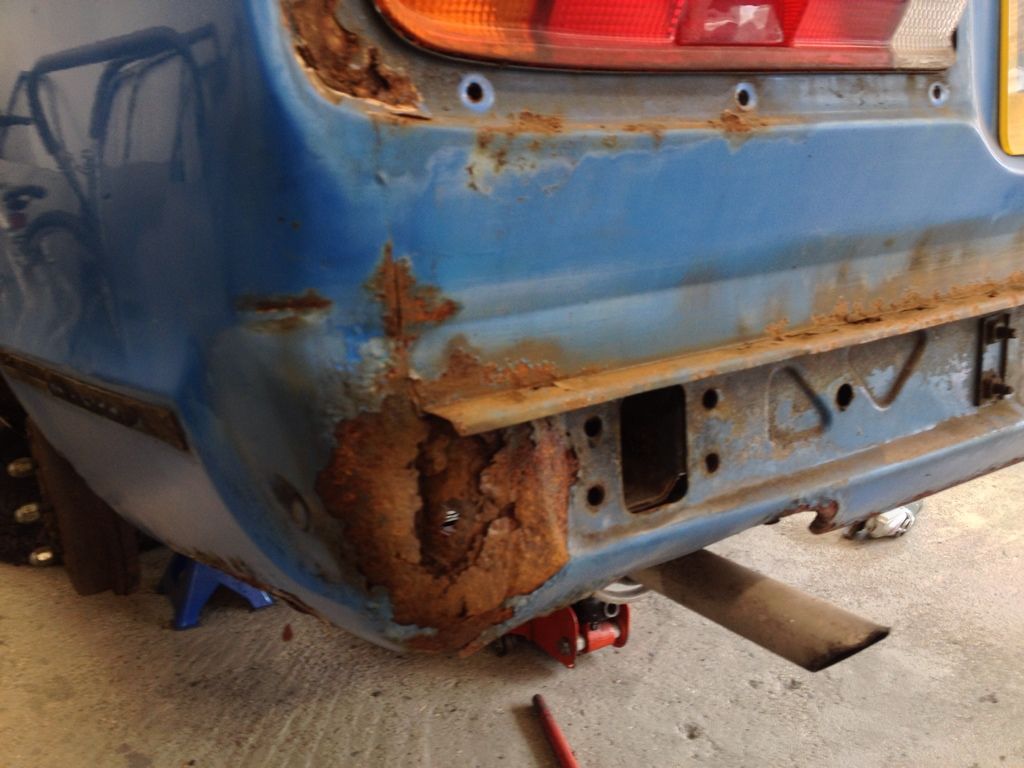
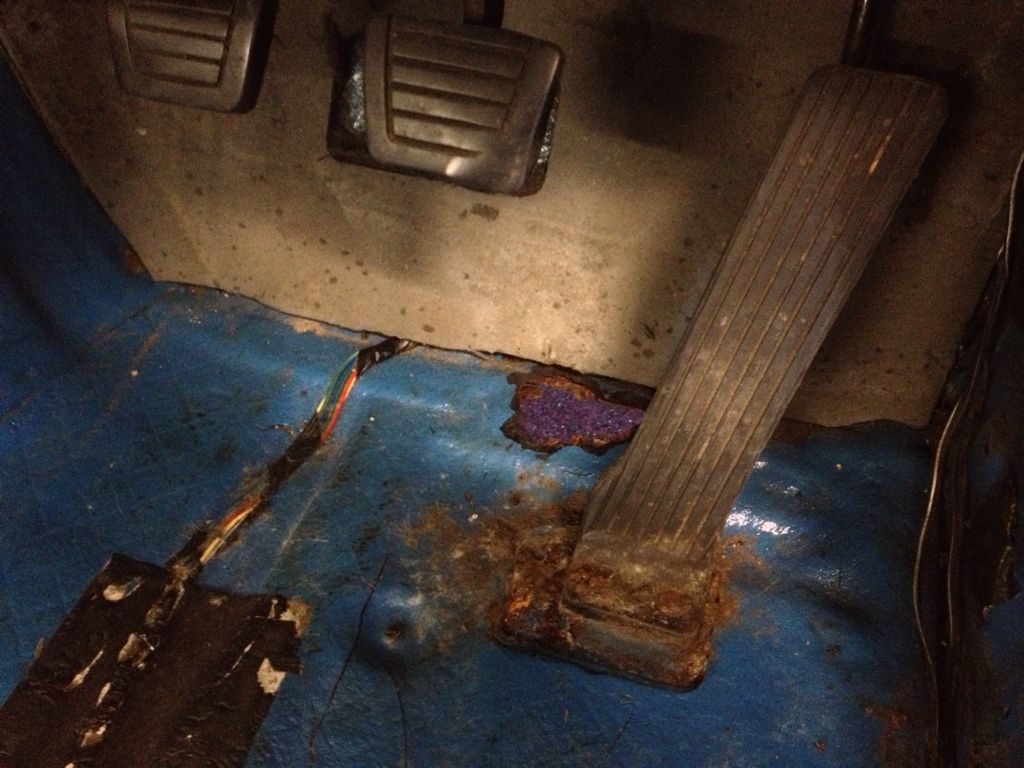
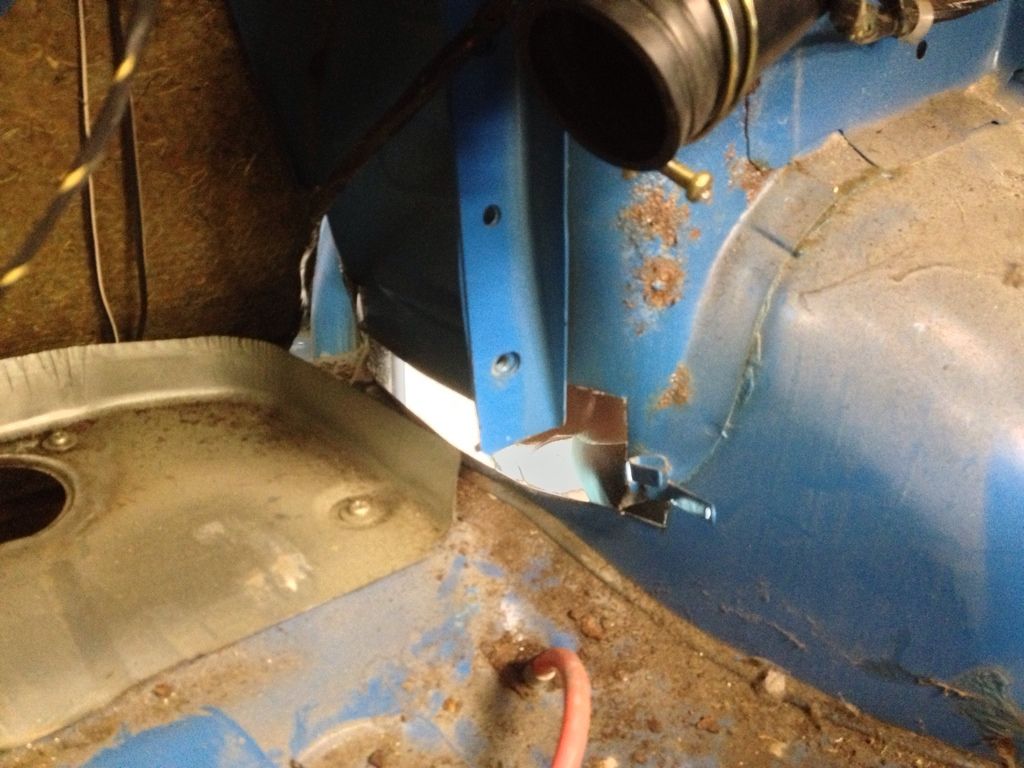
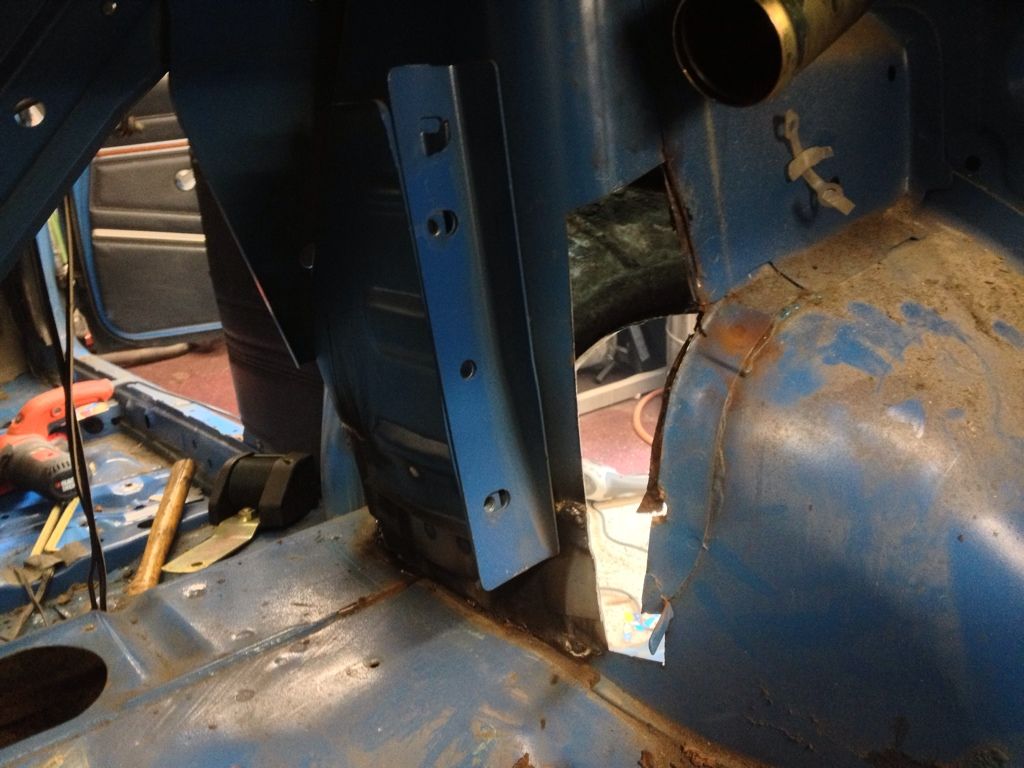
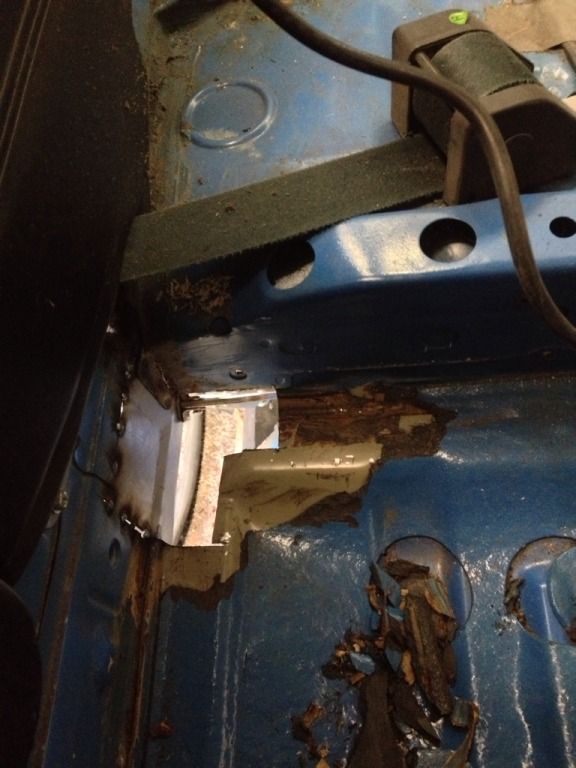
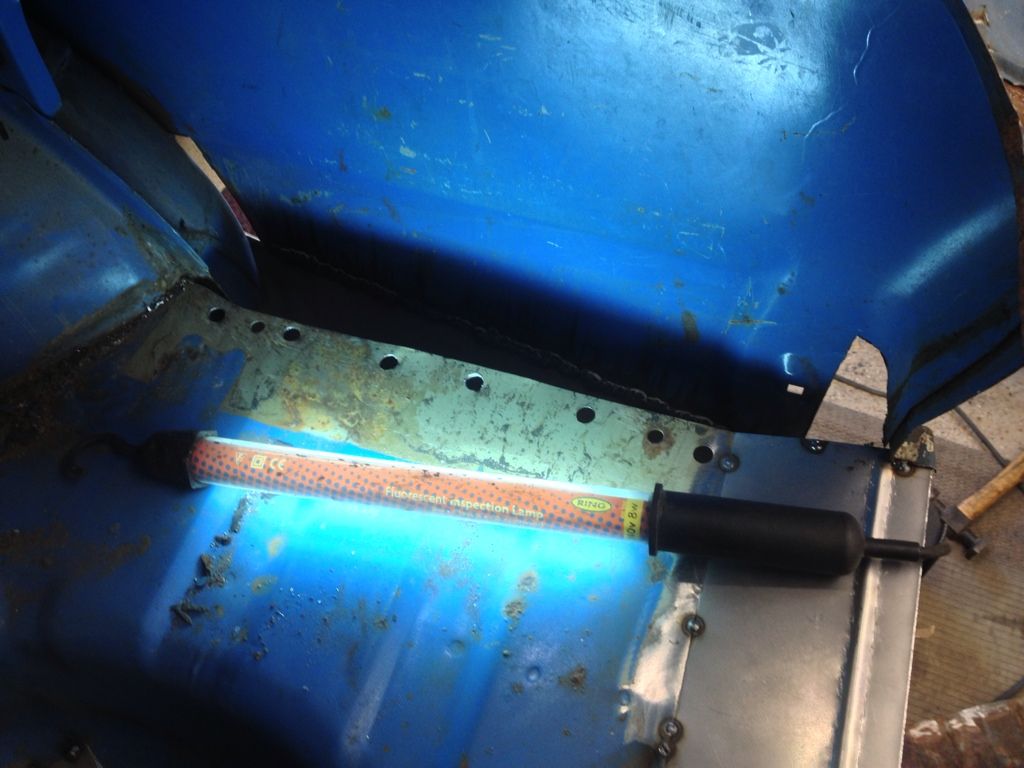
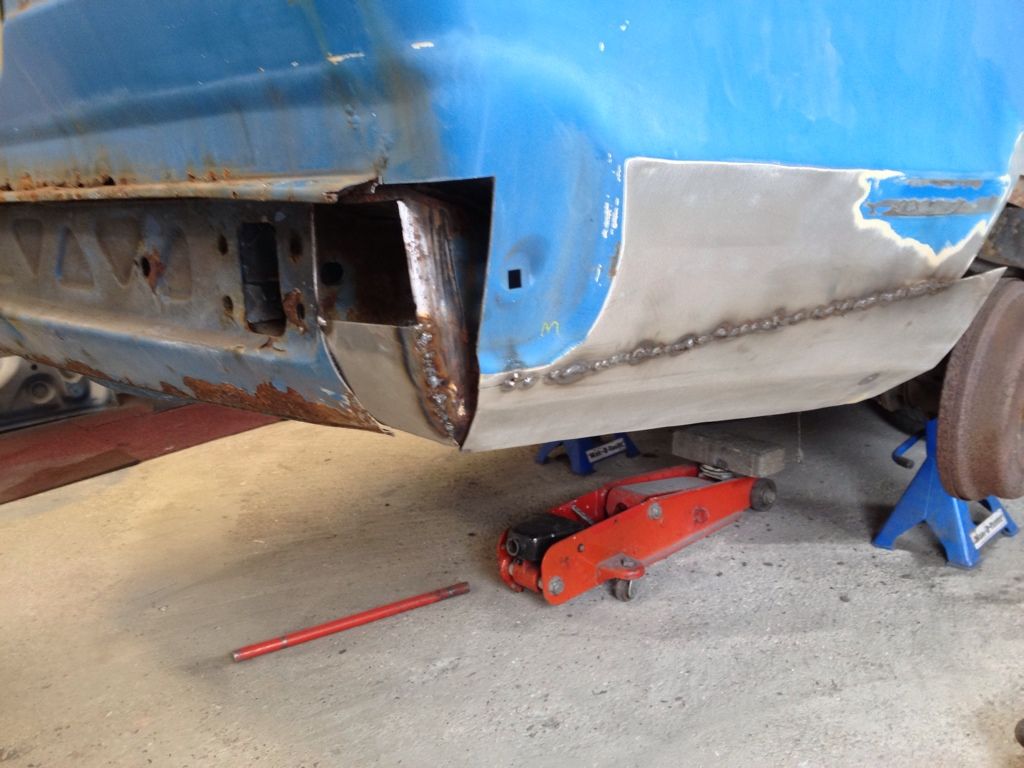
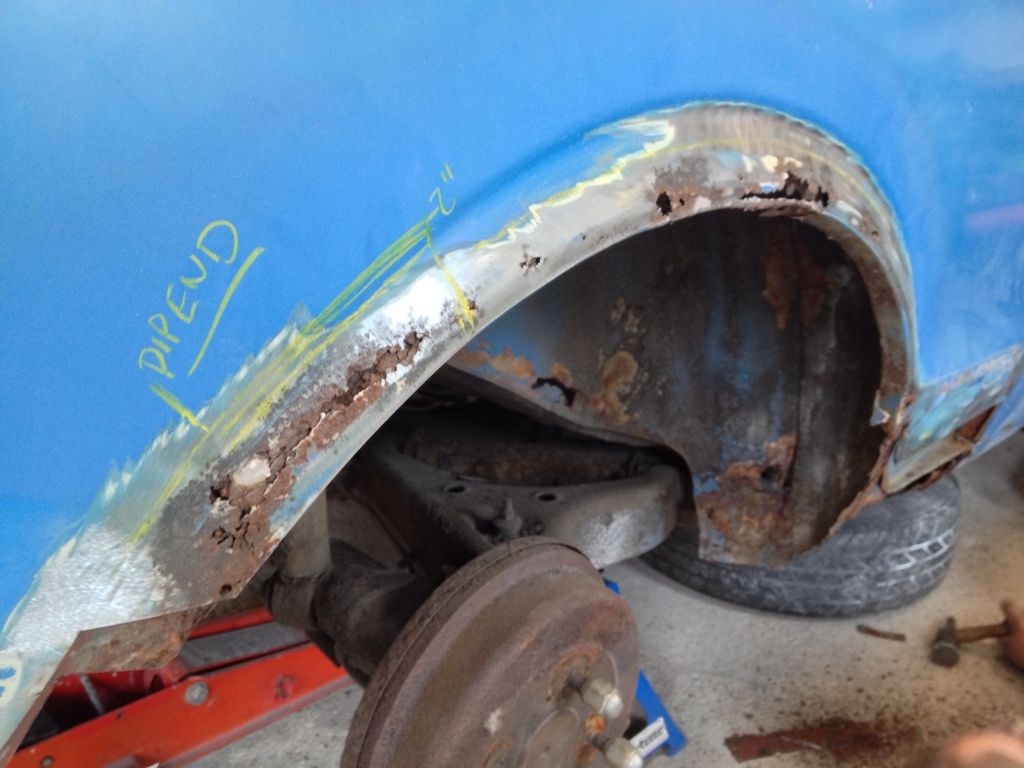
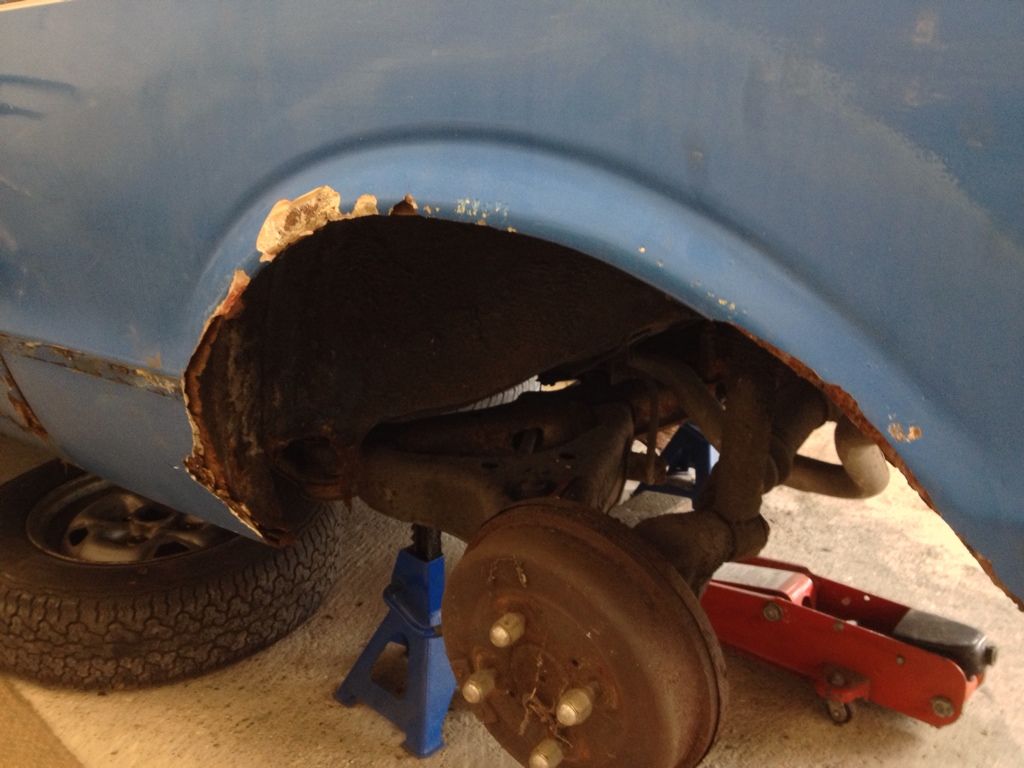
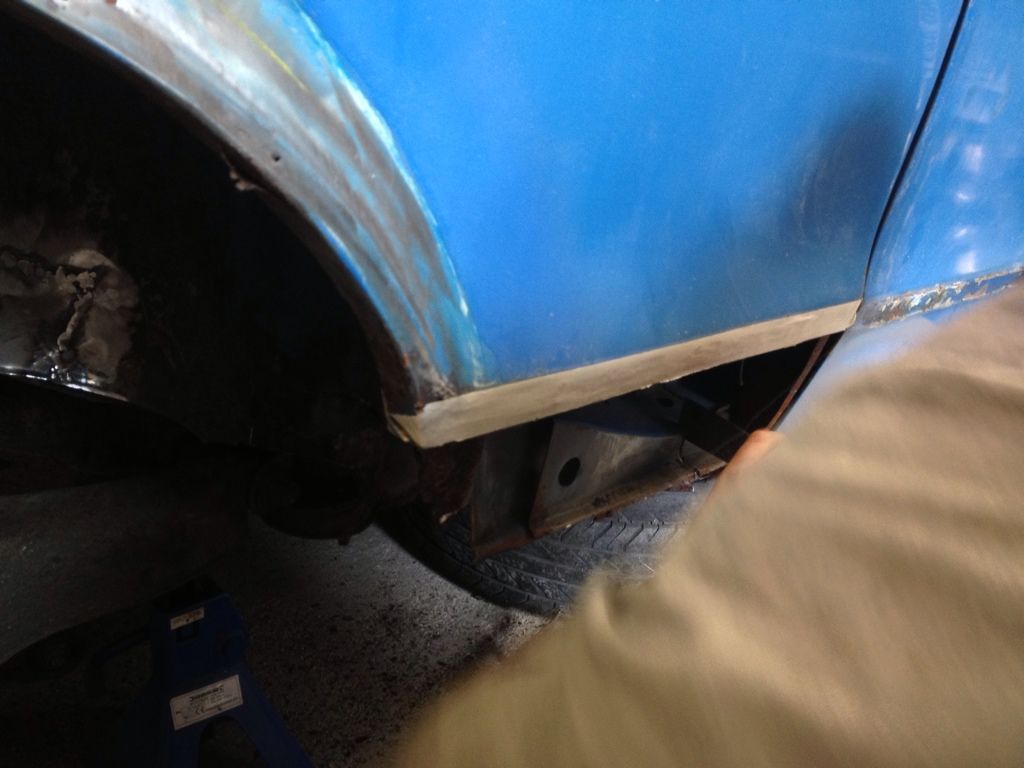
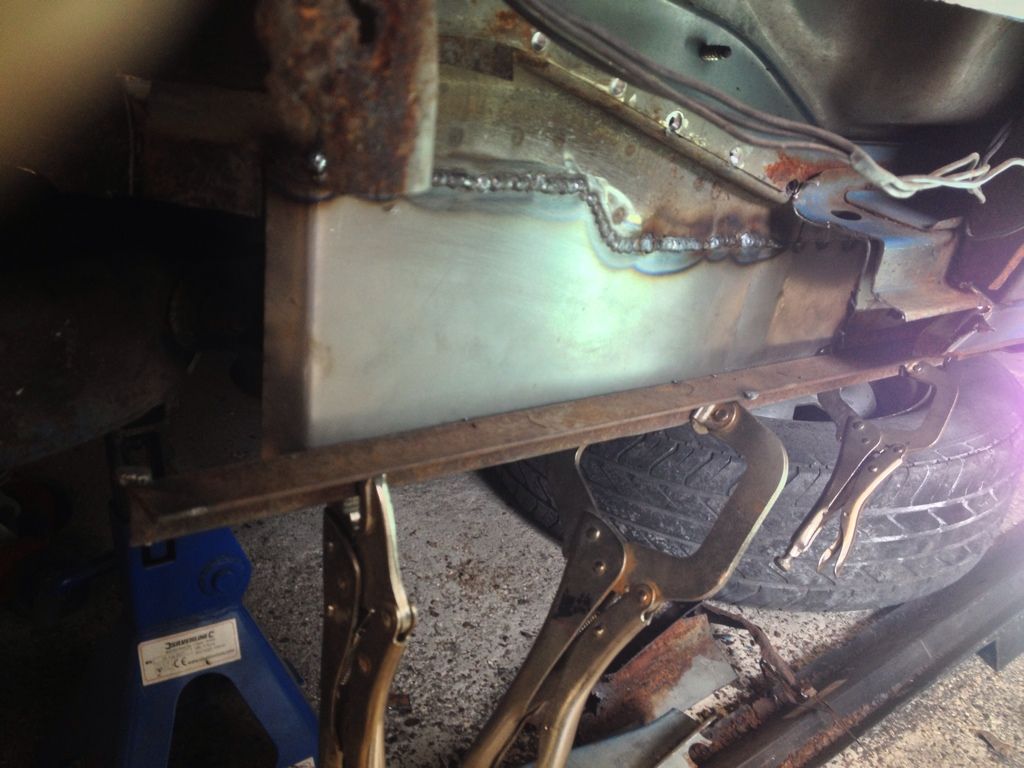
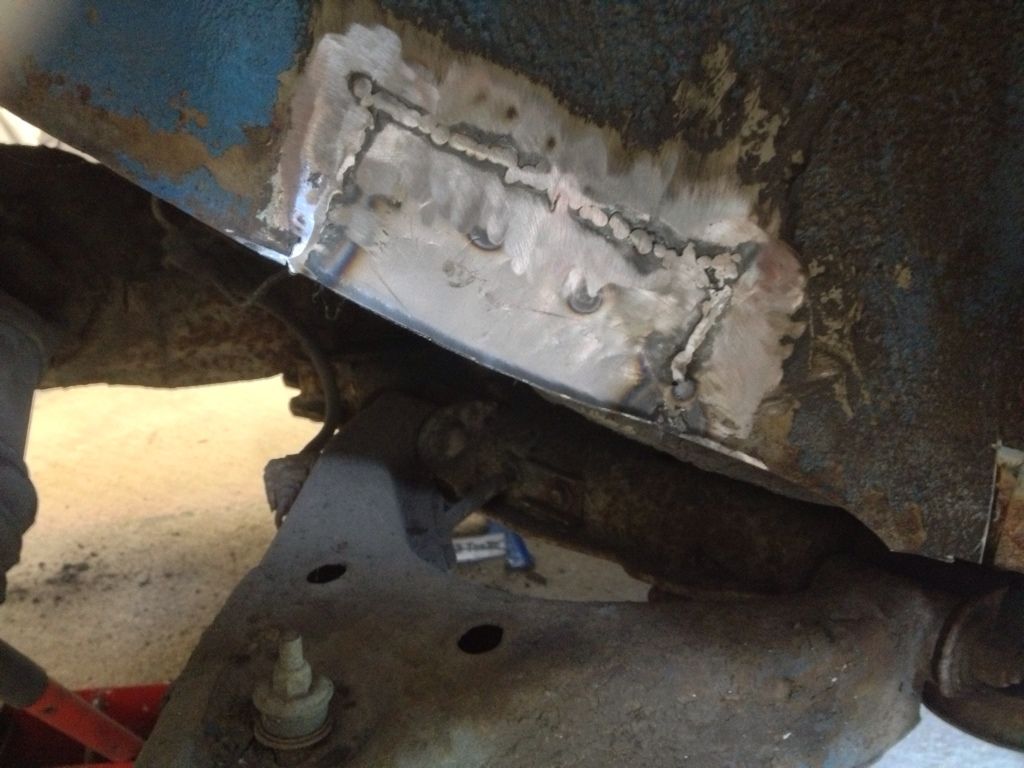
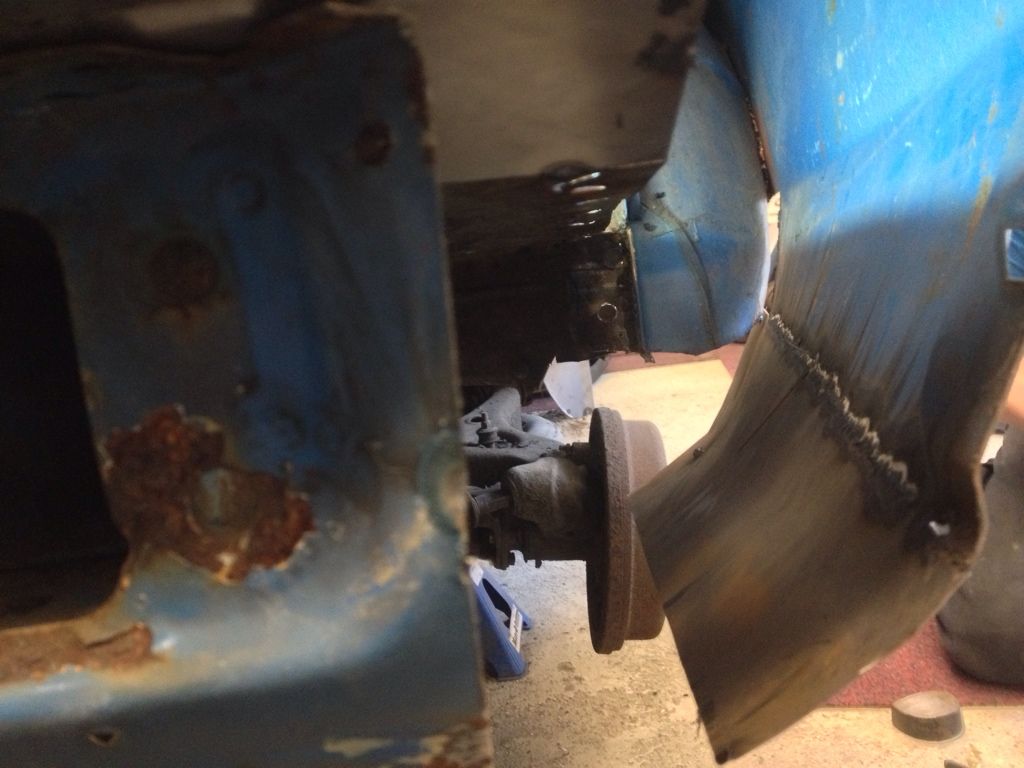
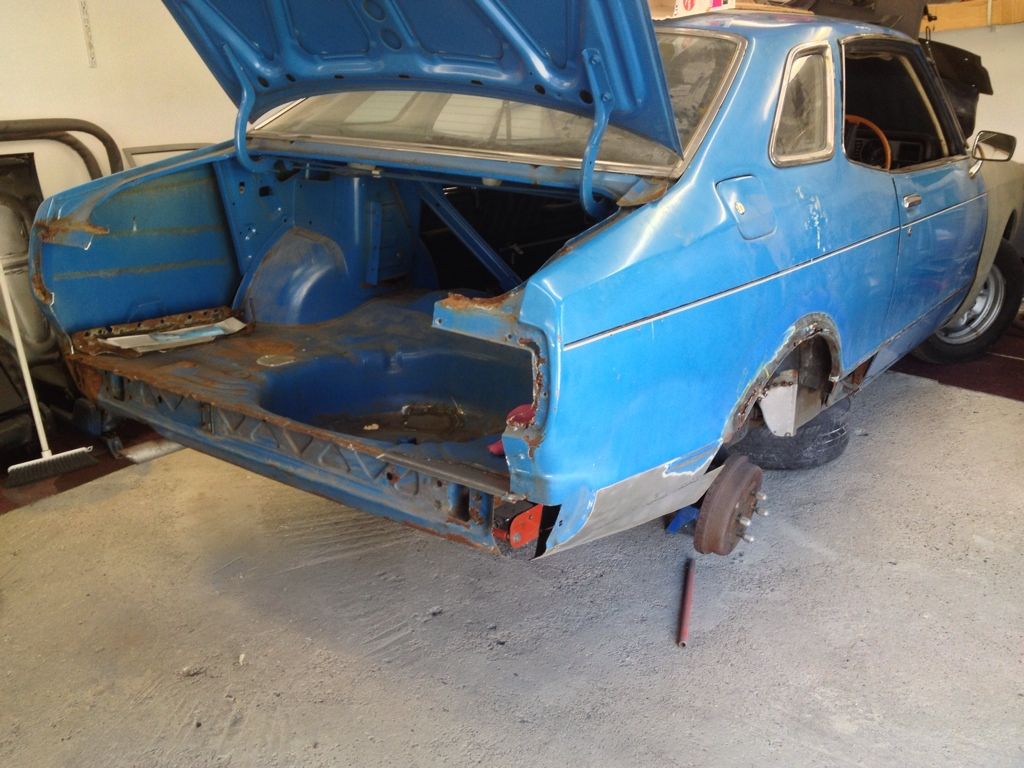
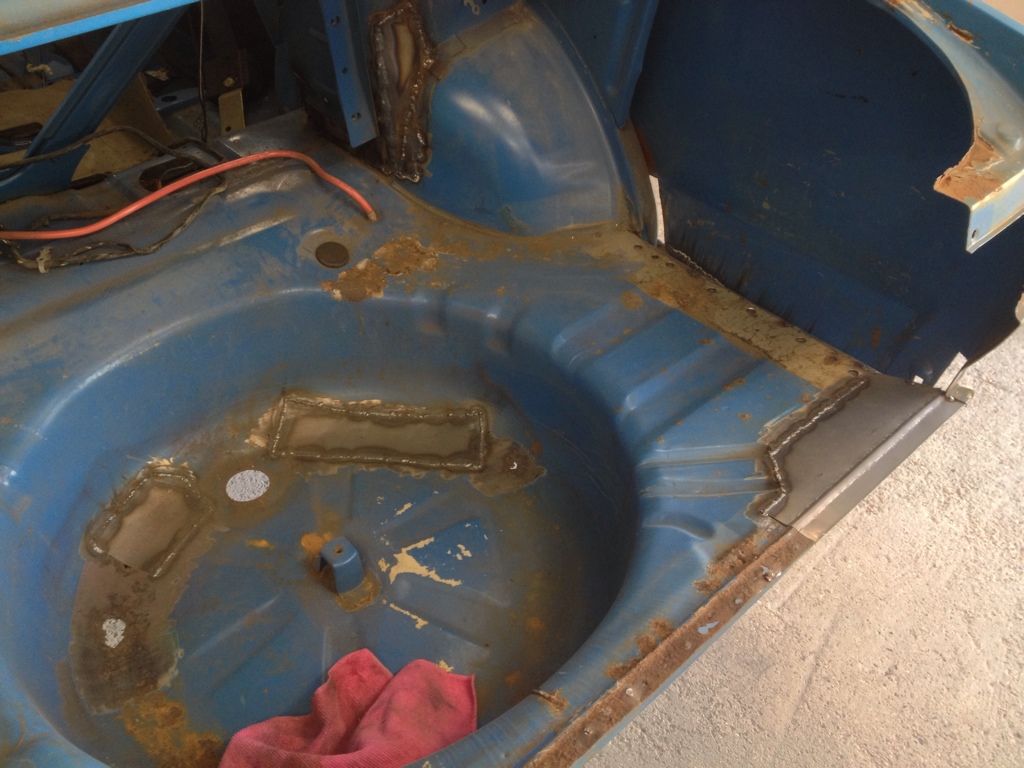
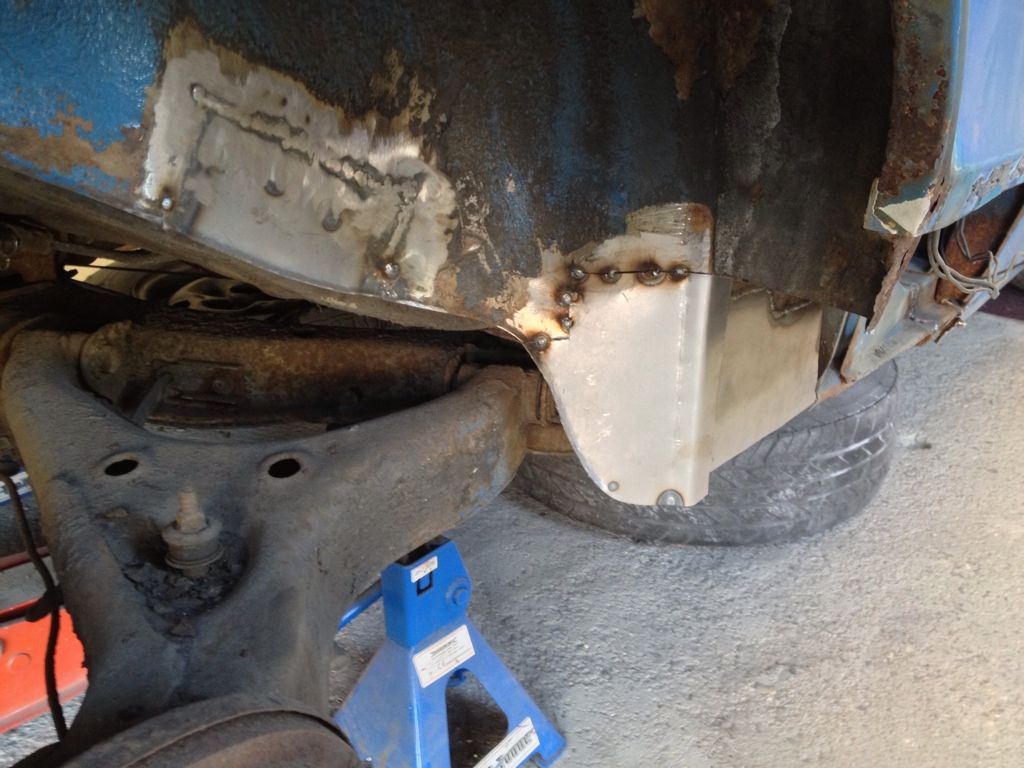
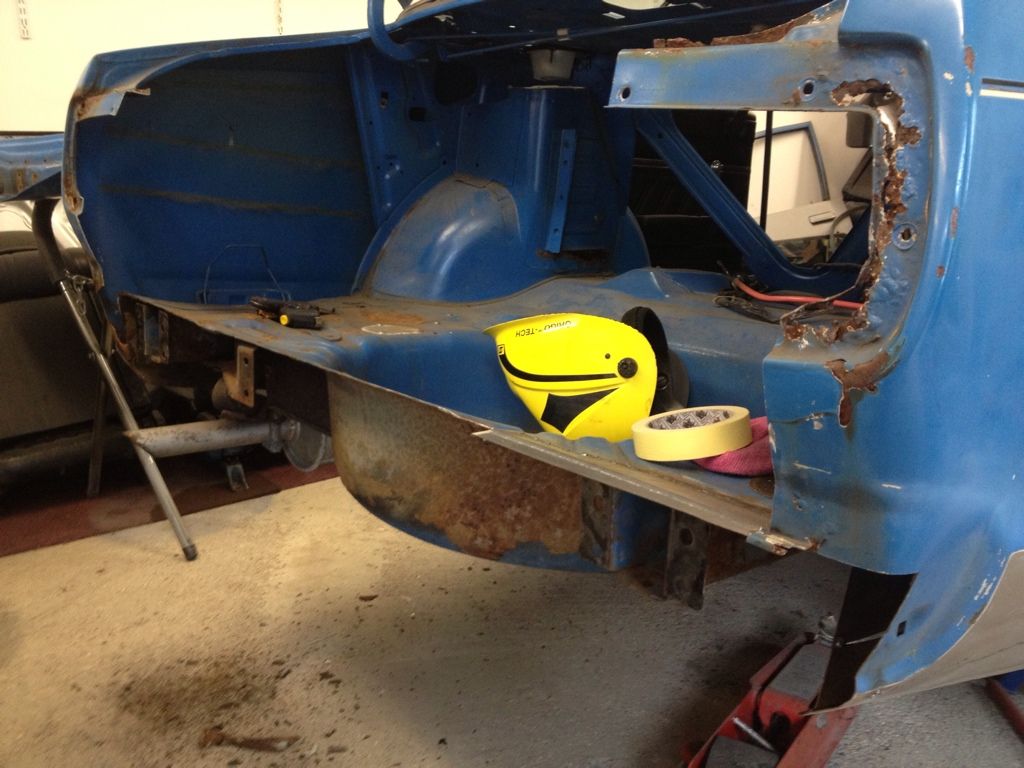
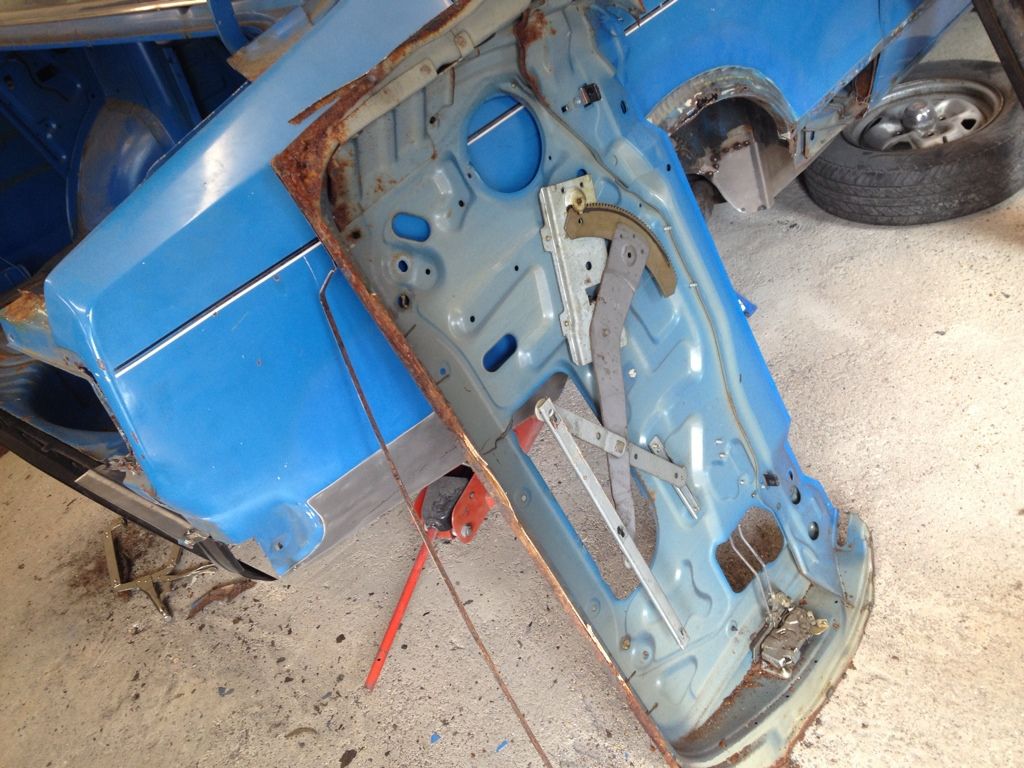
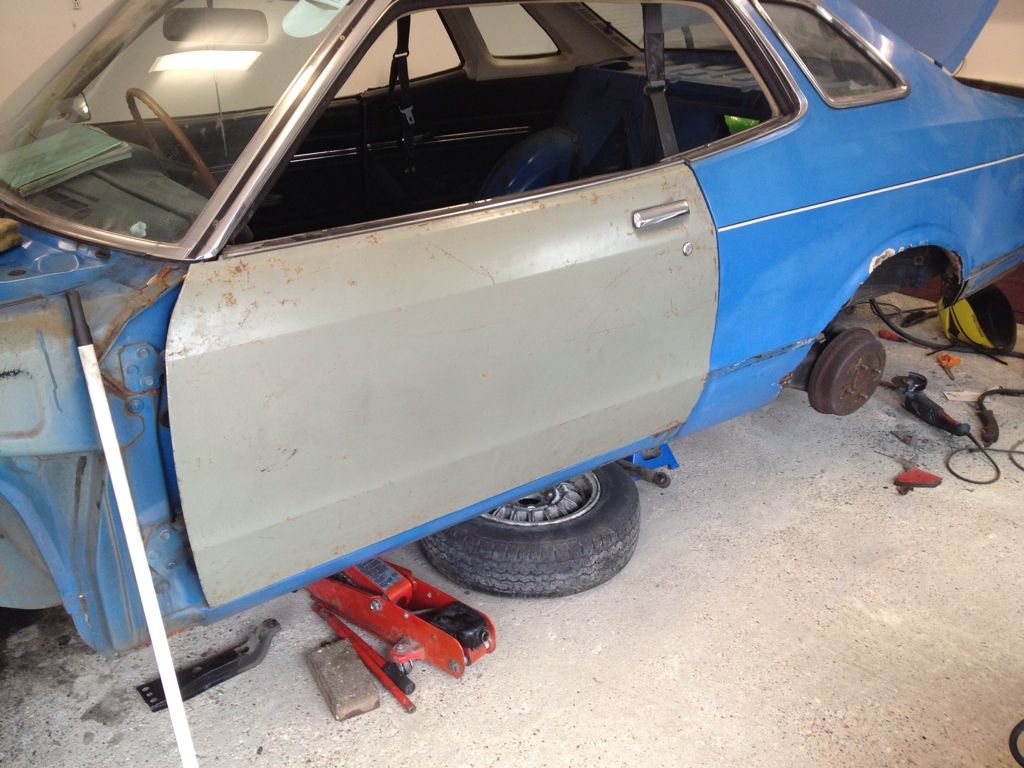
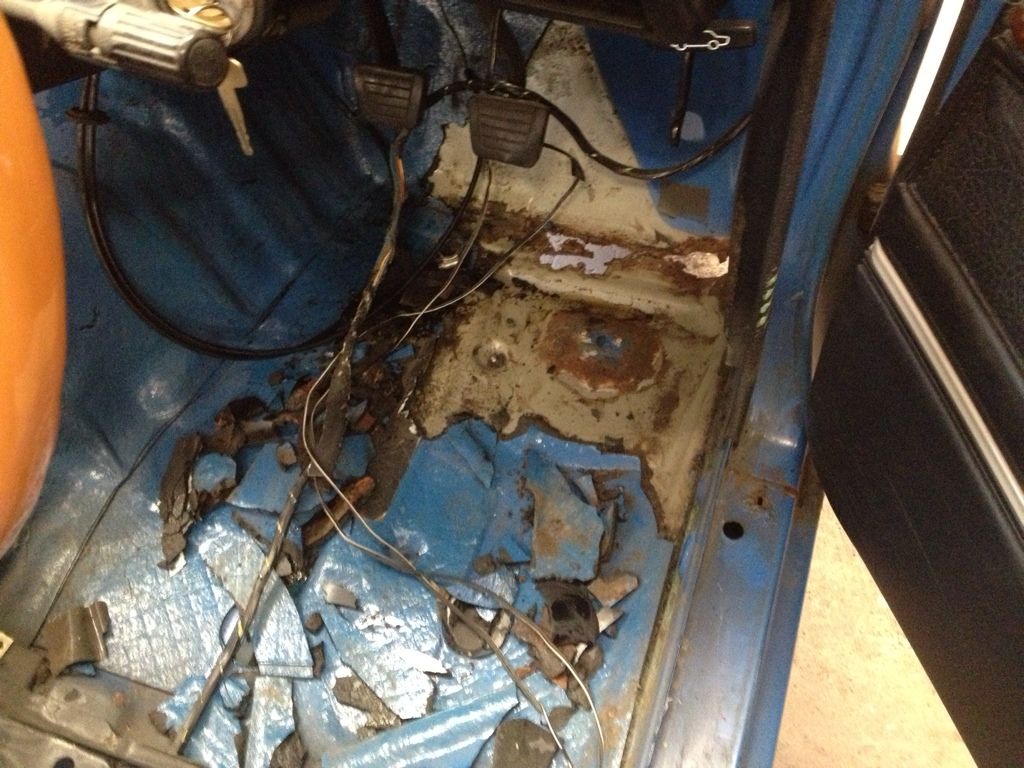
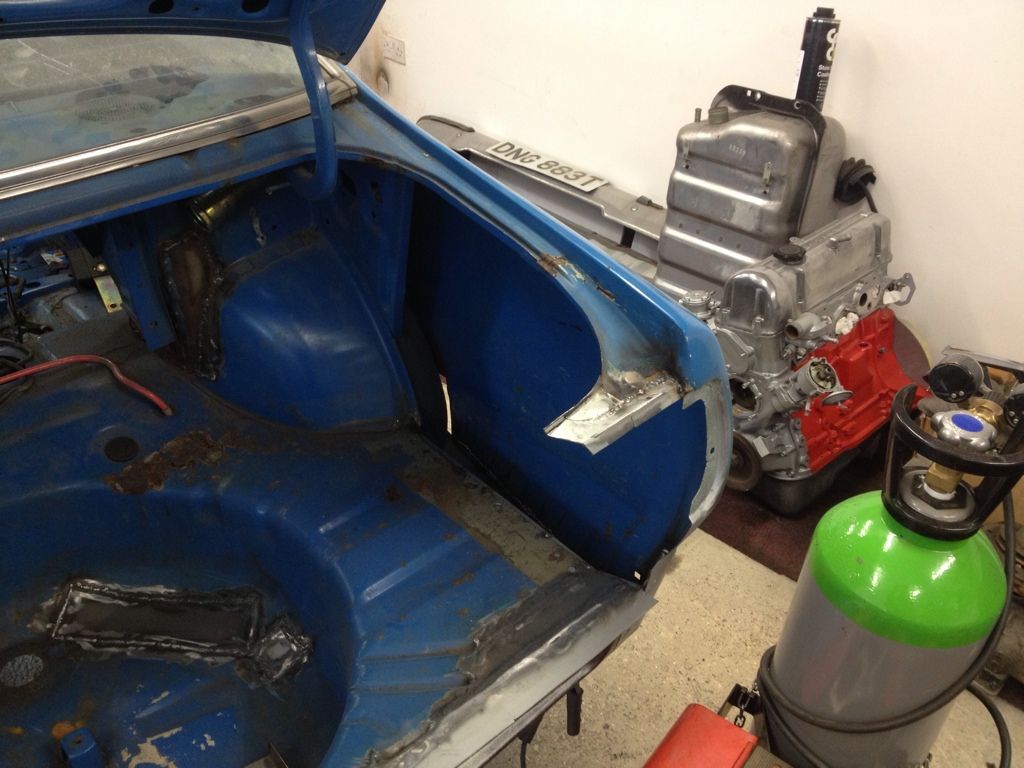
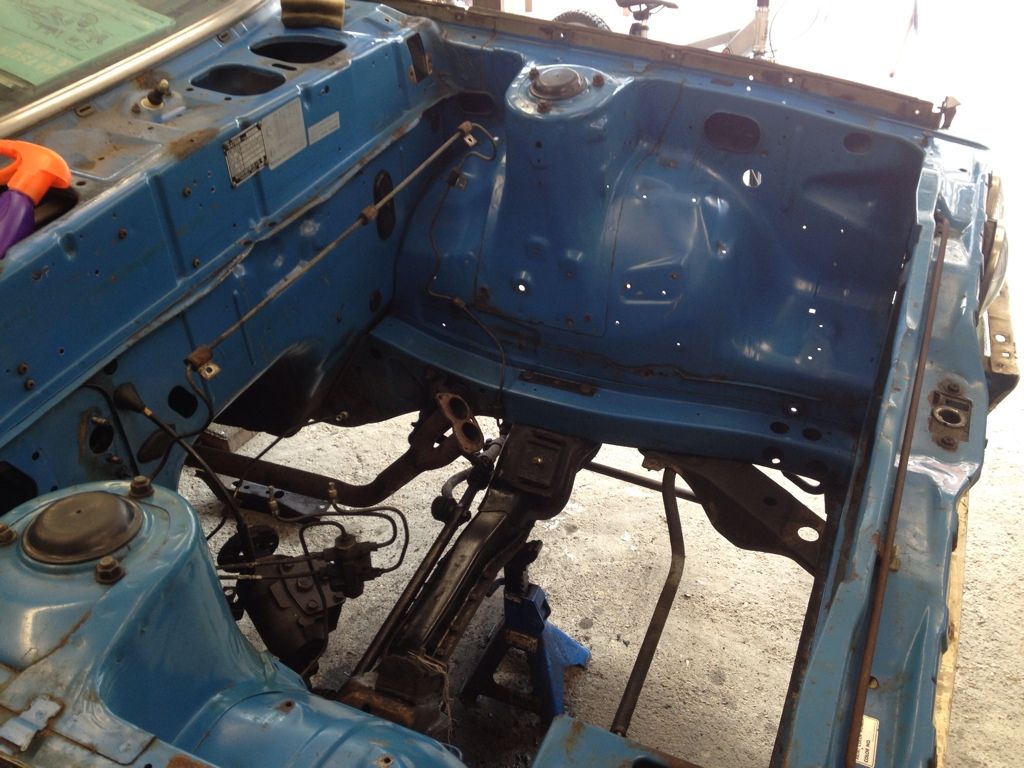
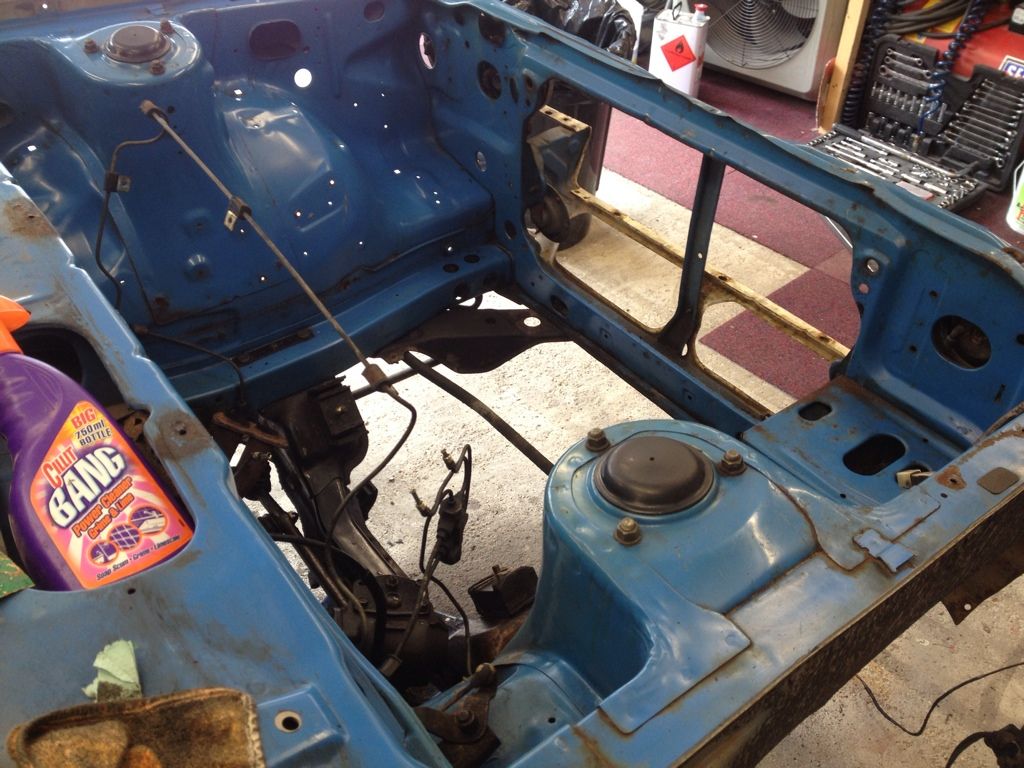
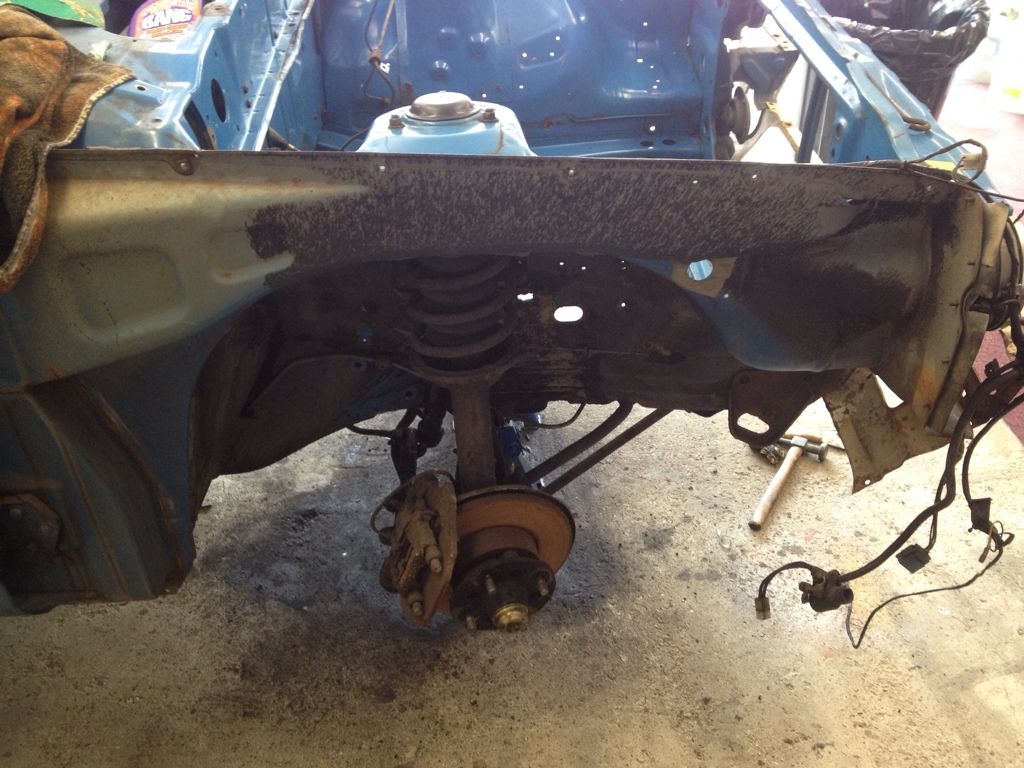
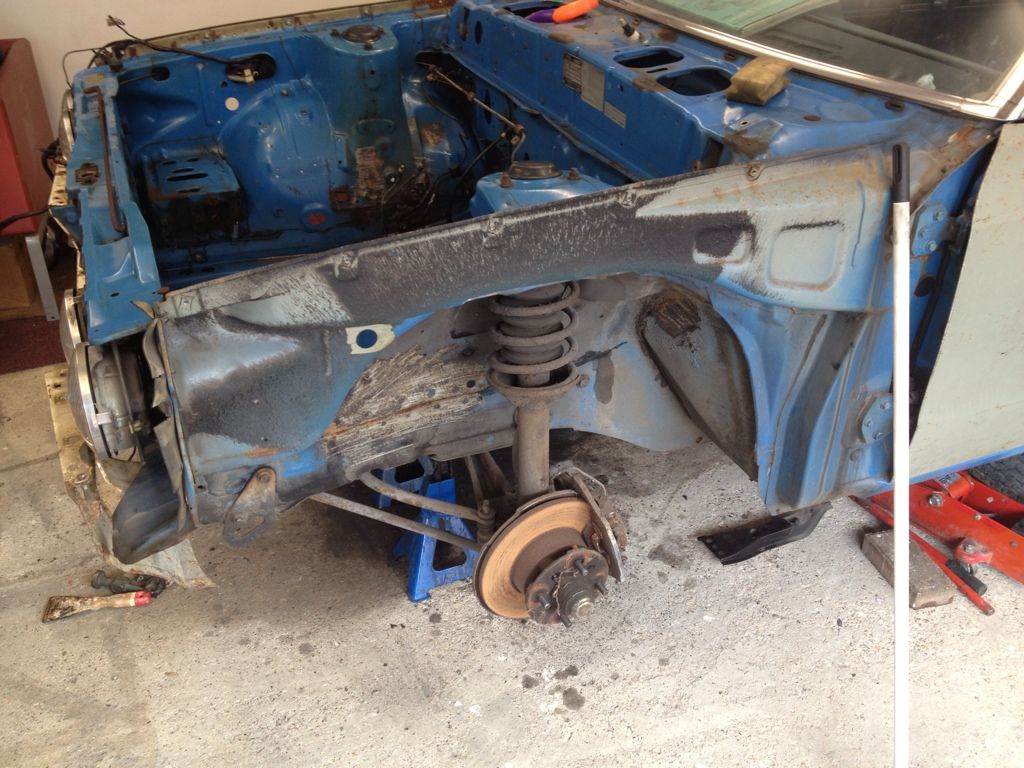
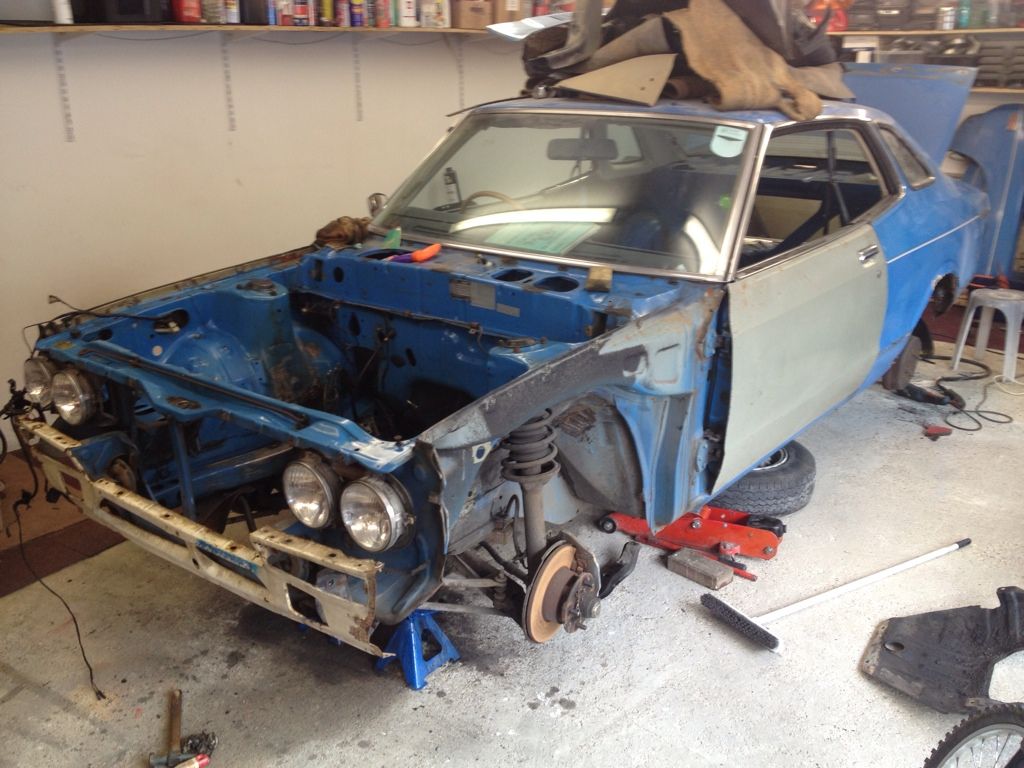
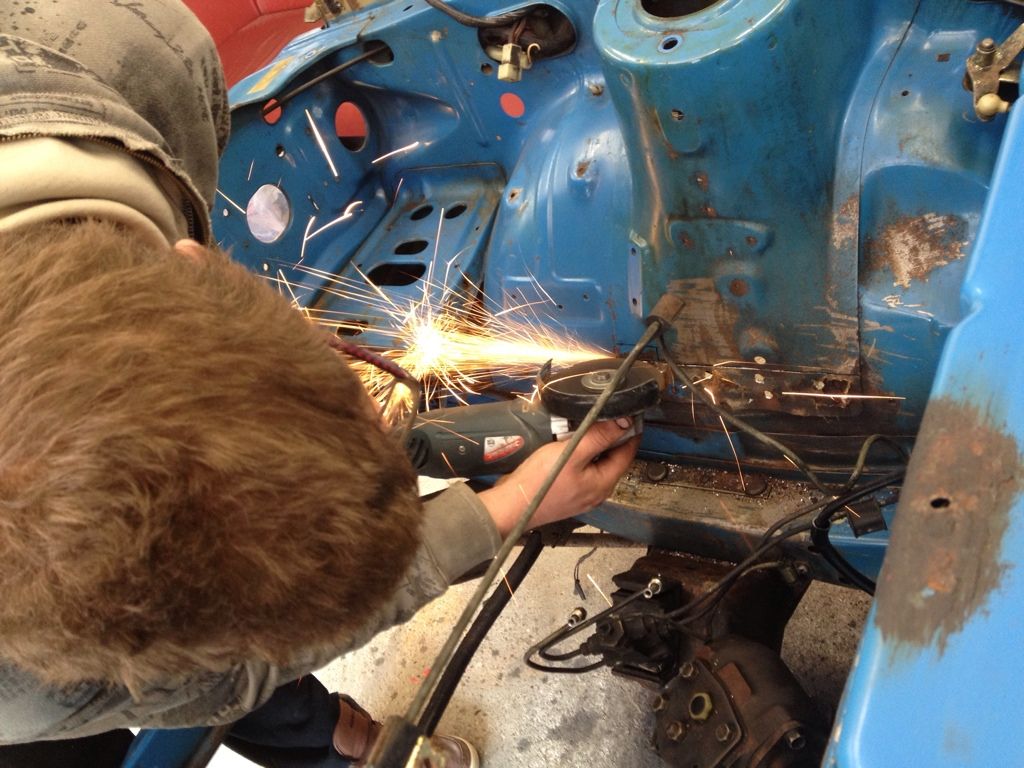
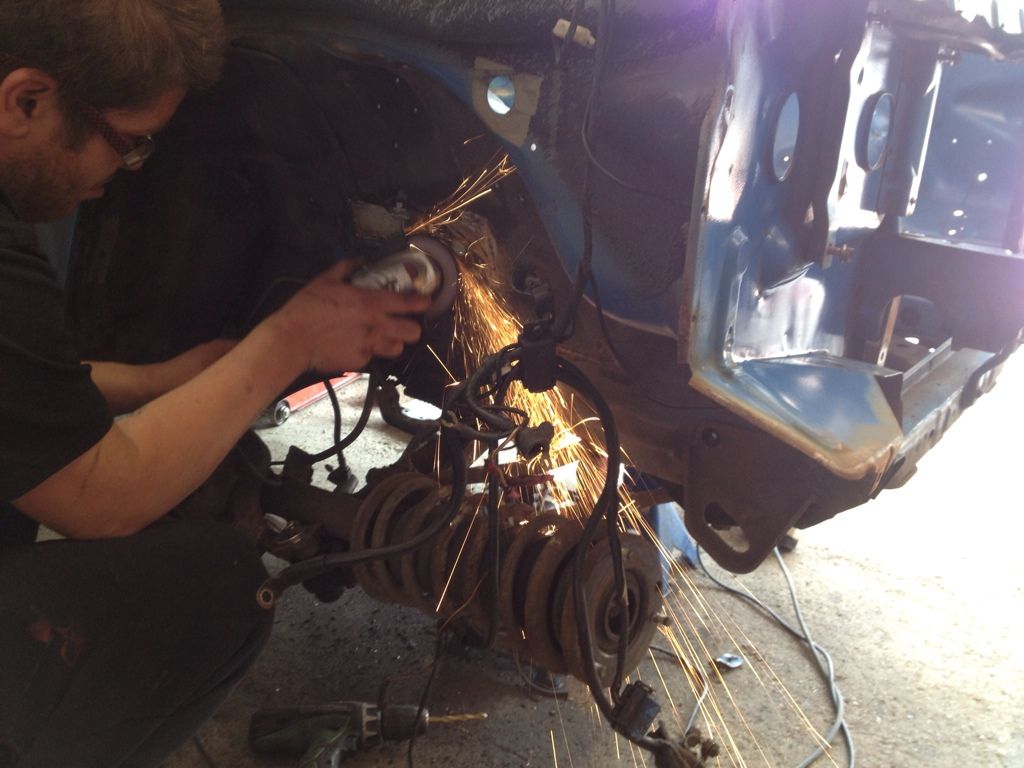
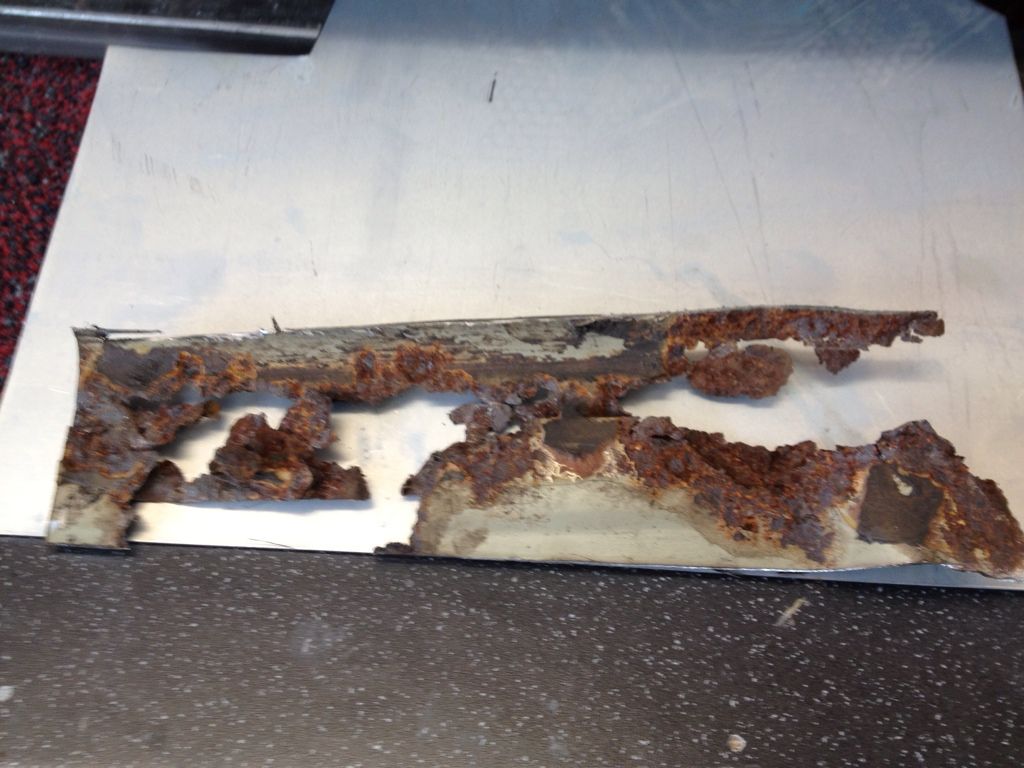
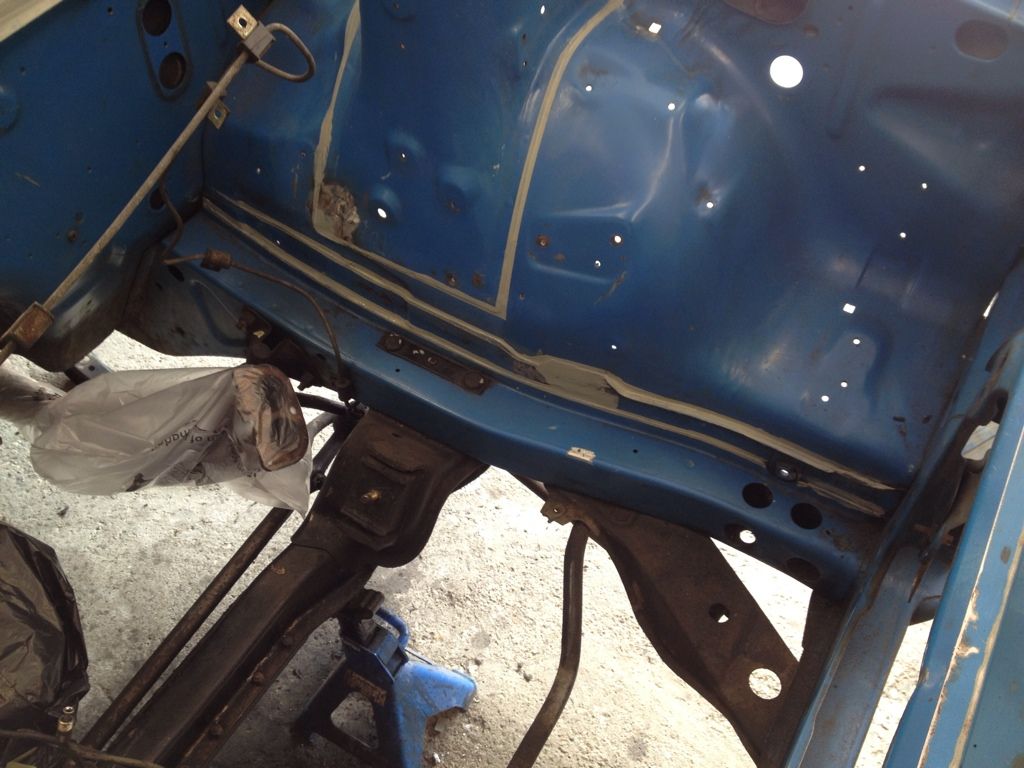
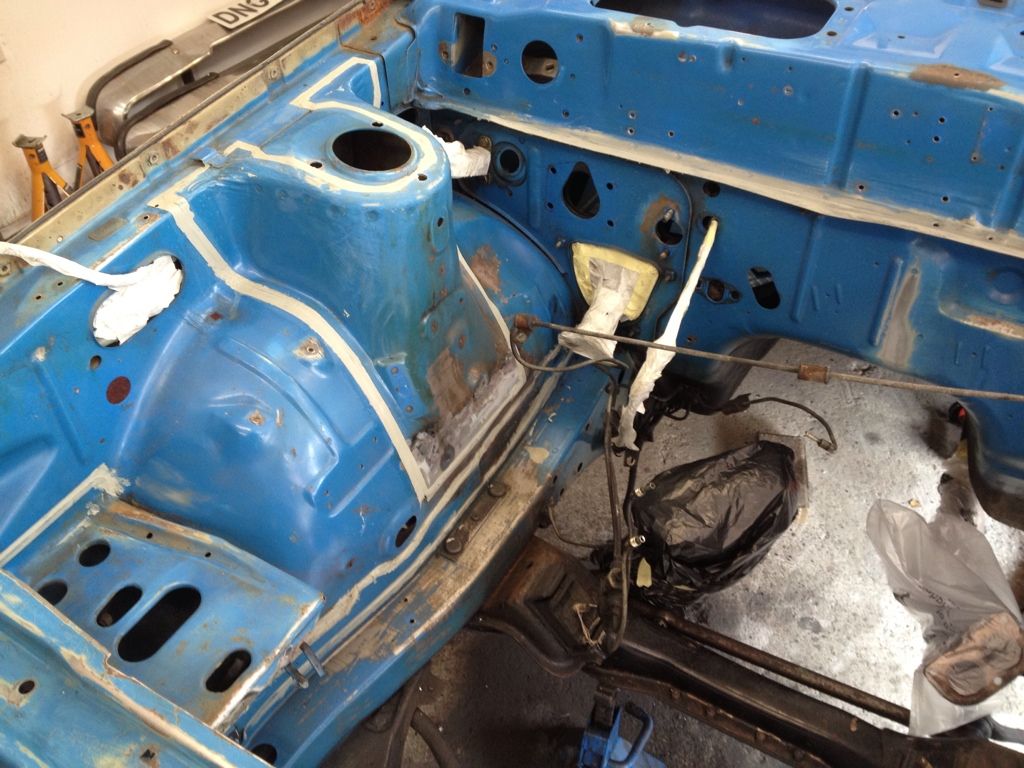
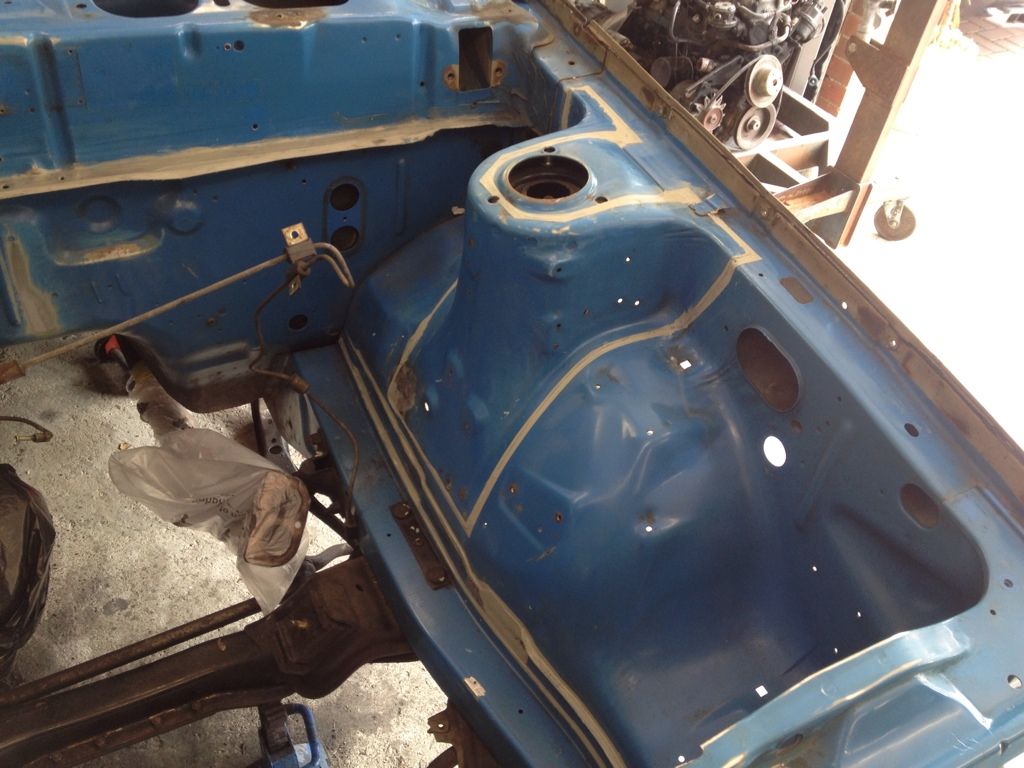
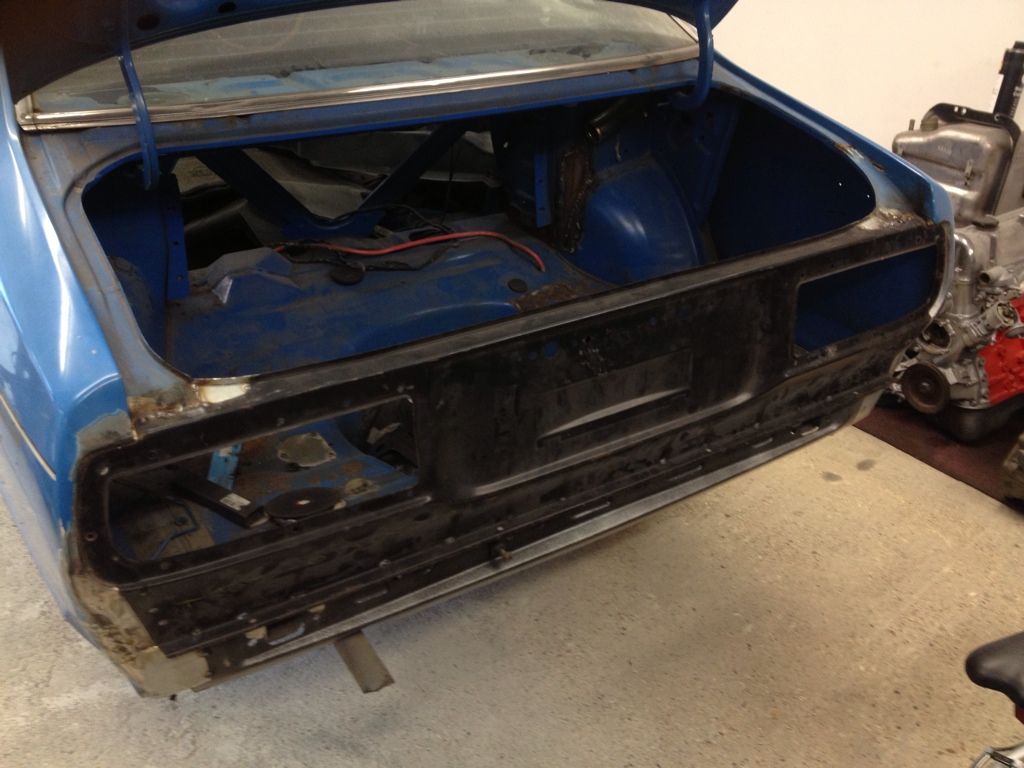
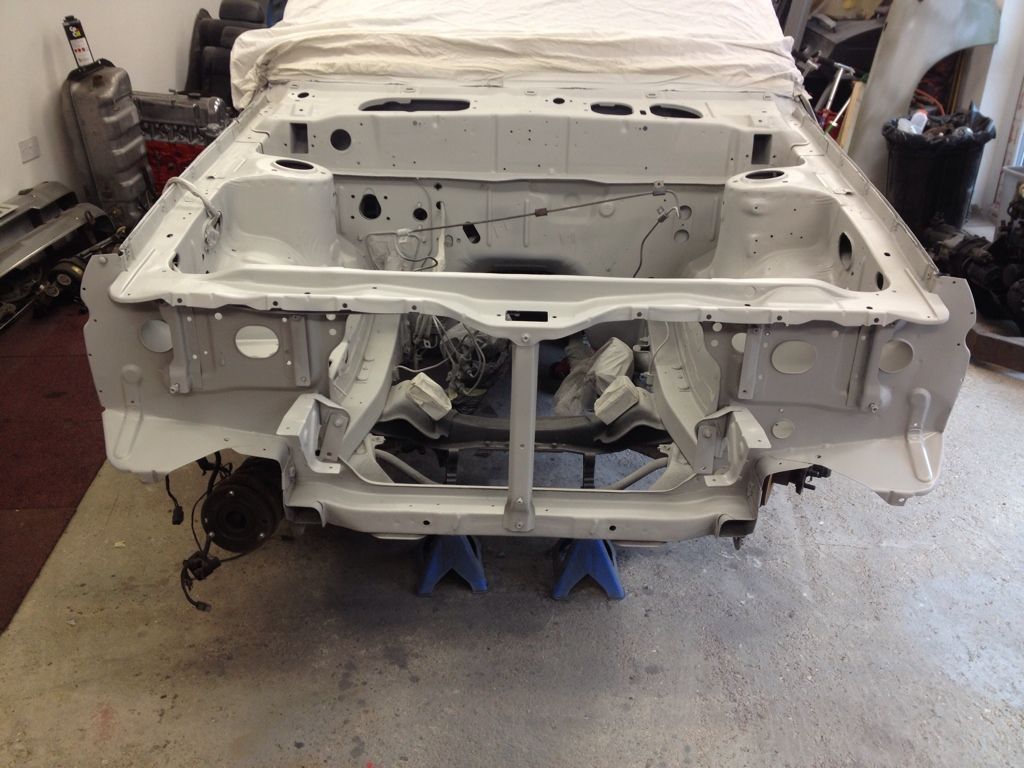
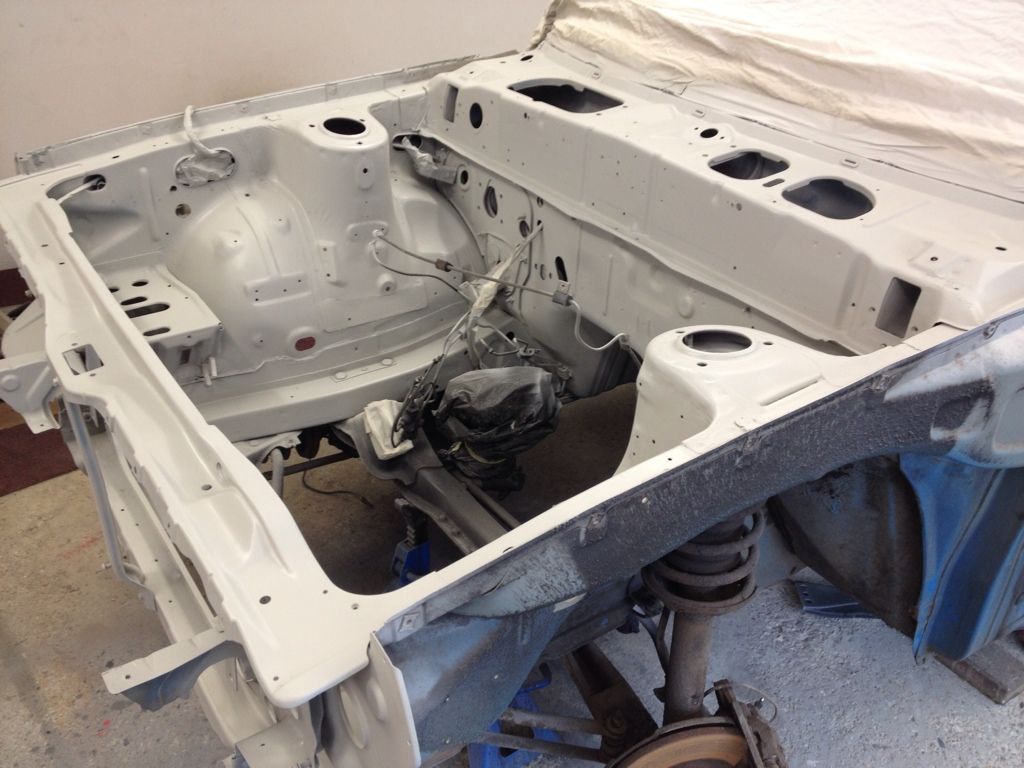
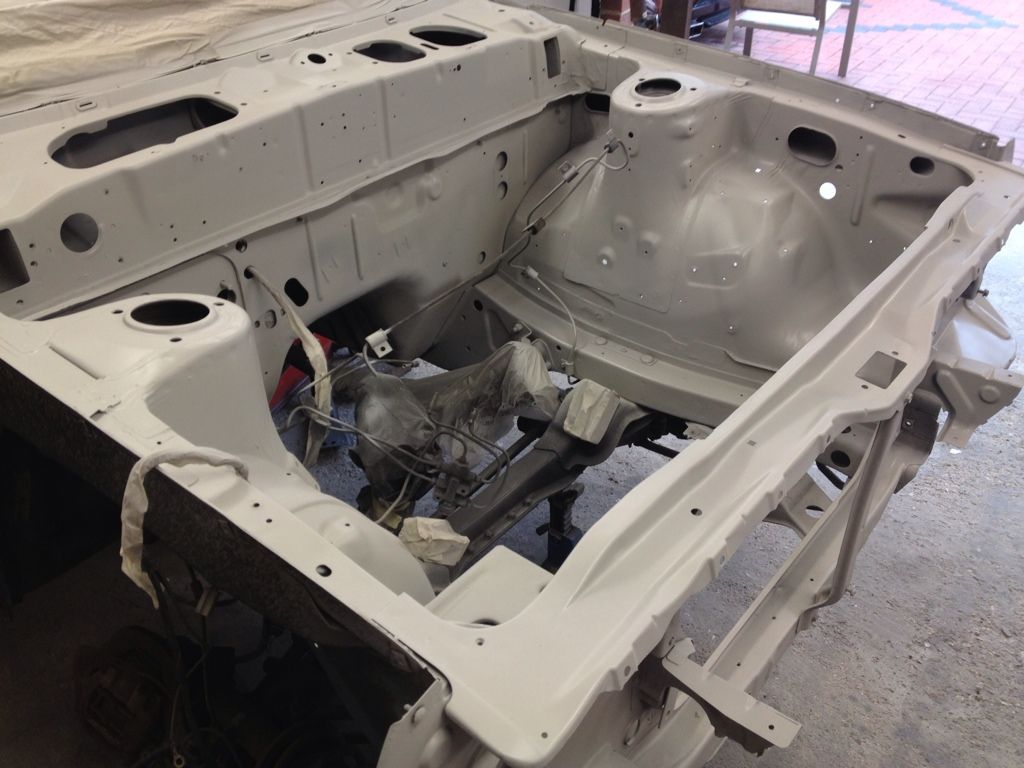
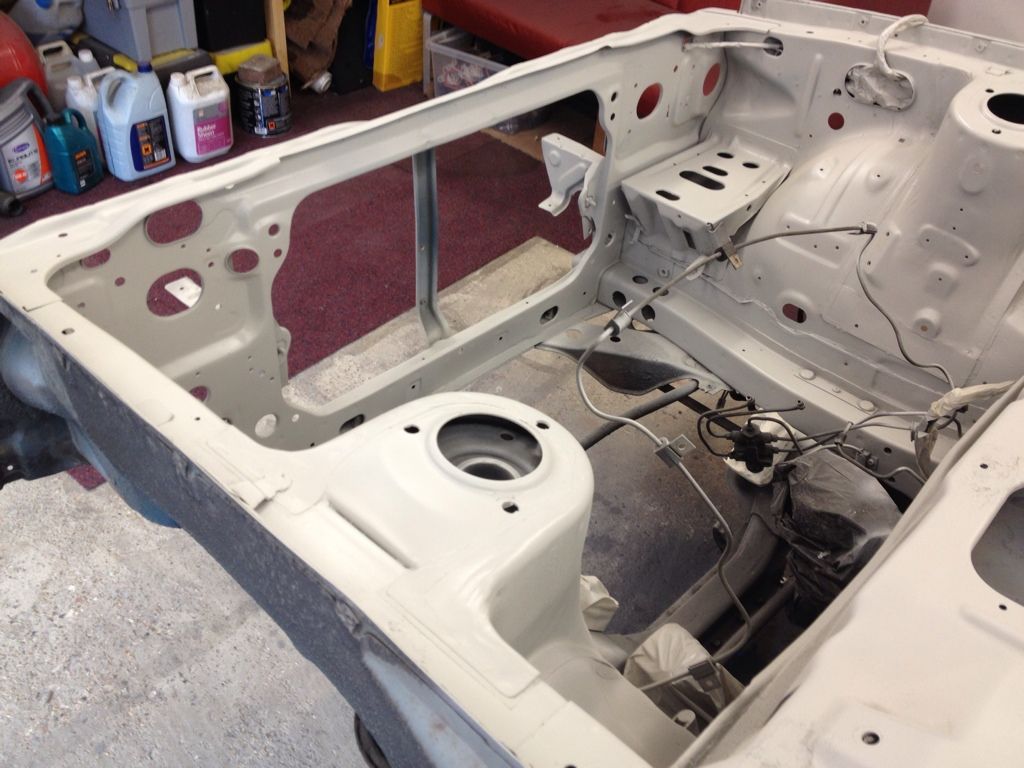
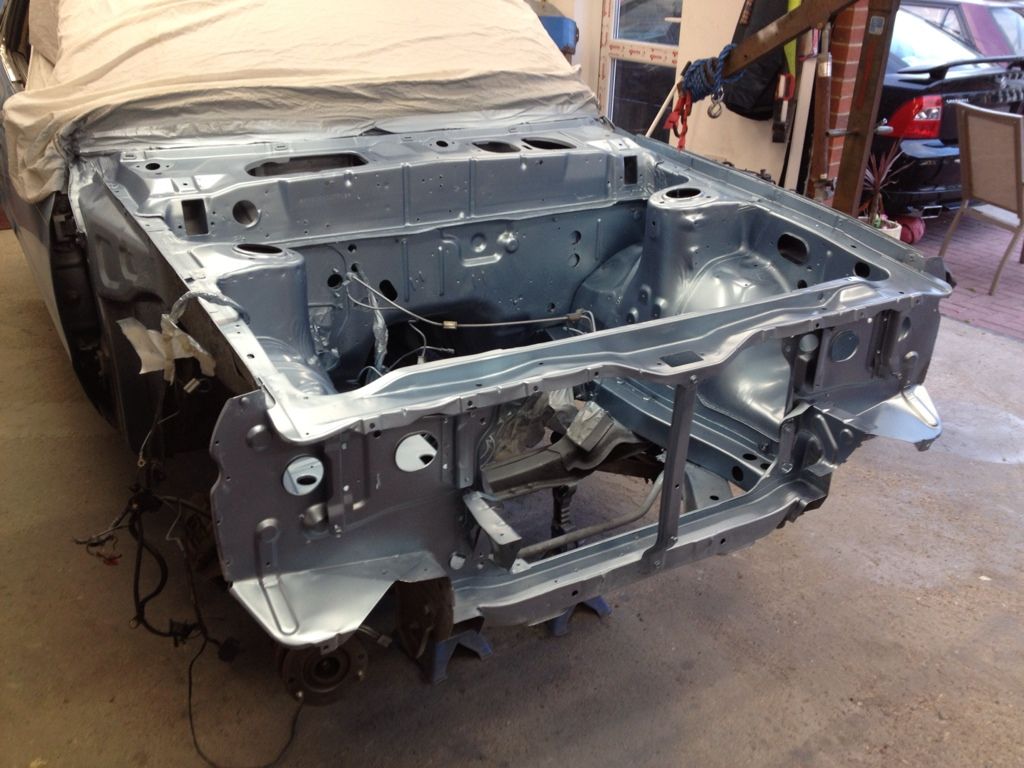
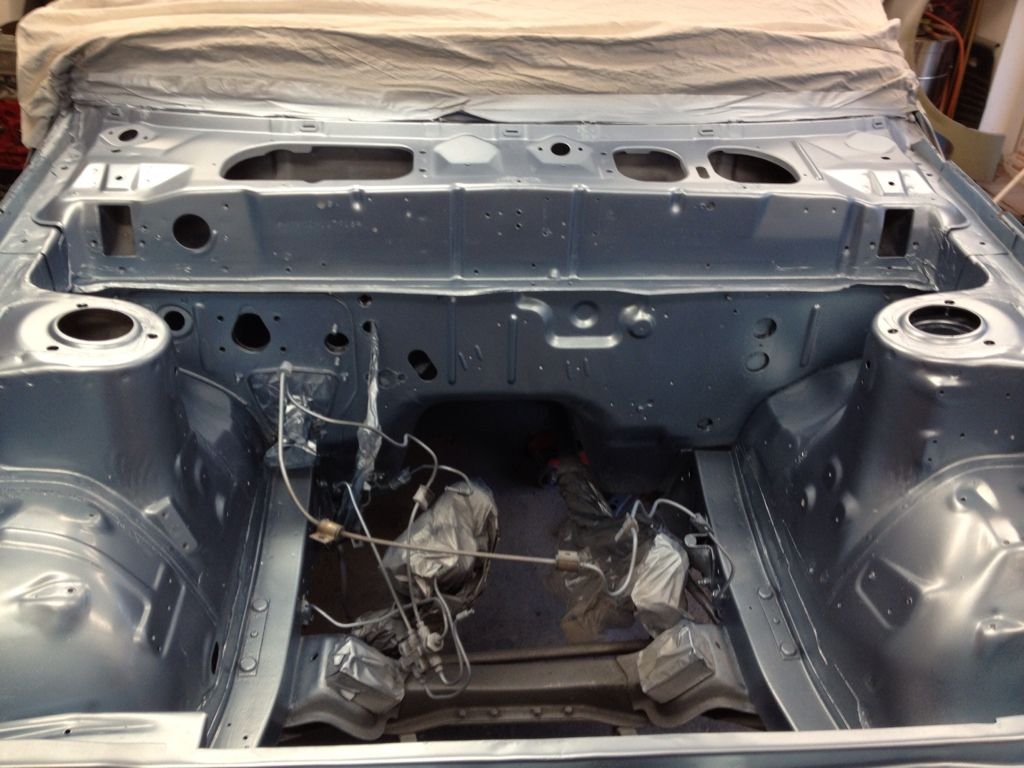
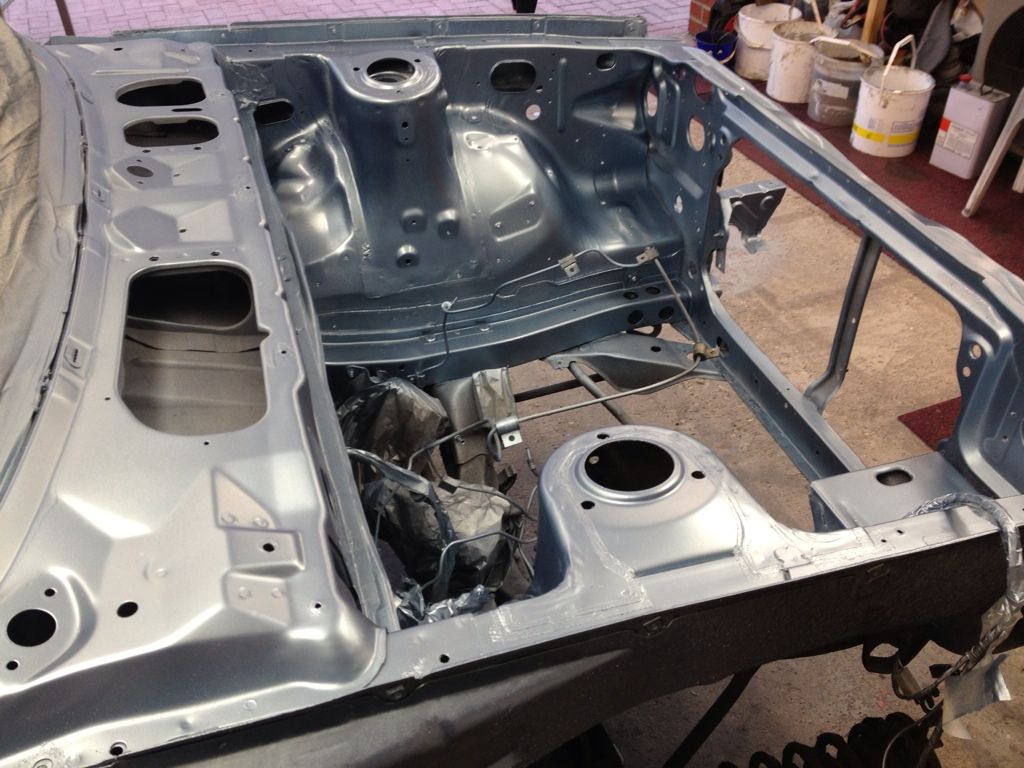
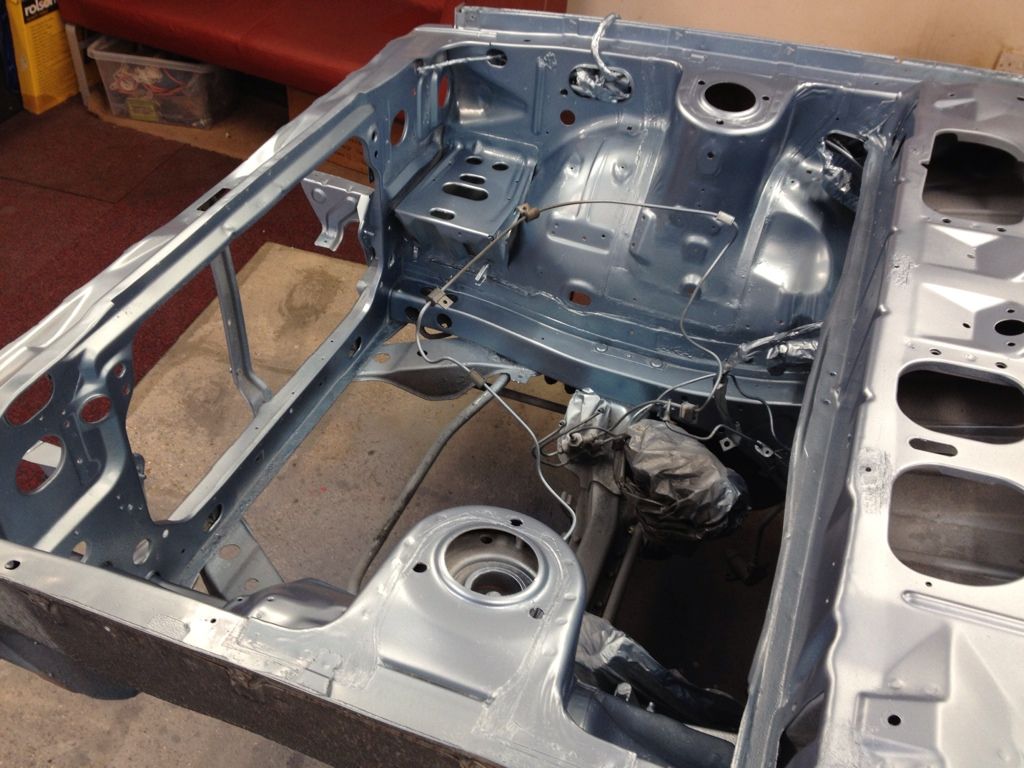
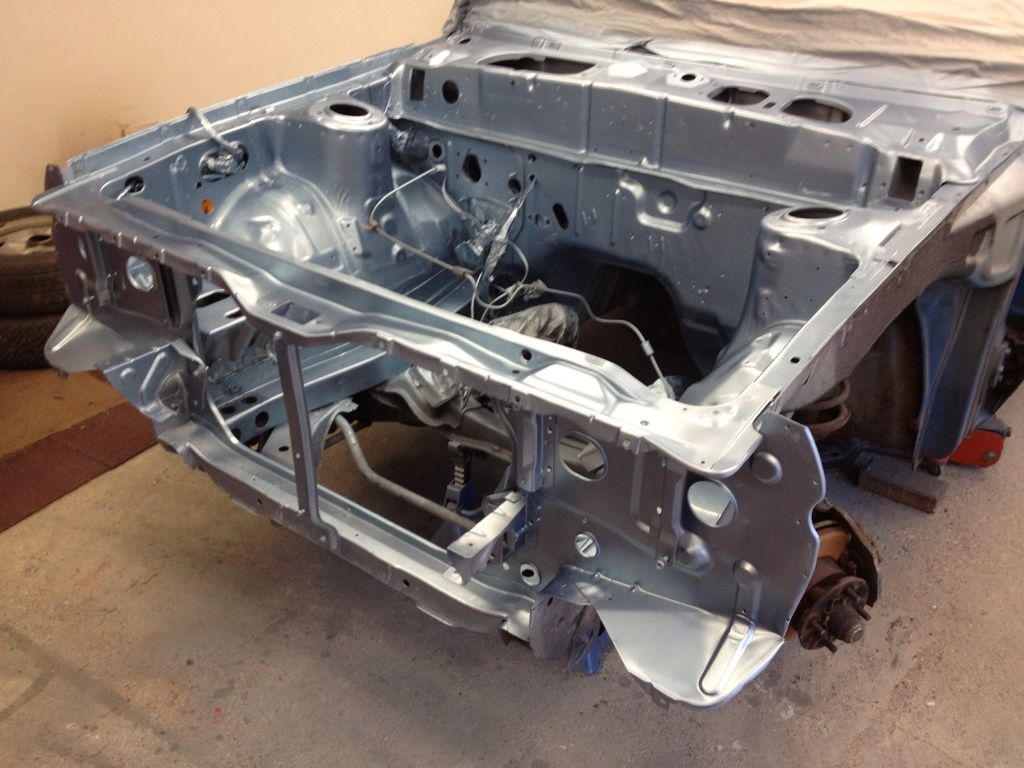
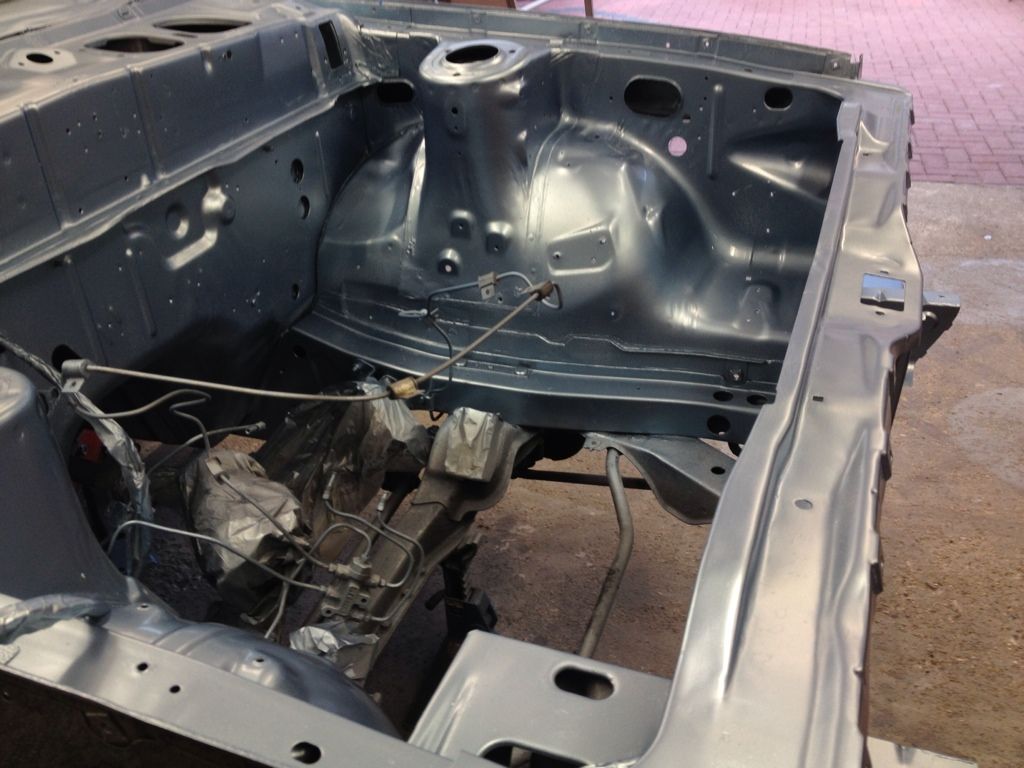
It will have far more rust prevention applied than the factory did, plans are to paint the inside of sills and box section then apply weld through primer to flanges (as per all other repairs) then give it a good dose of dynax (or similar) everywhere we can get it. On these they have an unusual sill arrangement from the door back, theres an additional section of sill that comes from the b pillar back, which then has the rear quarter wrapped around it. So the worst of the rust has actually eaten its way from the inside out through 3 layers of steel, which is protected with nothing more than primer  I'll be adding in some form of drainage holes so that any water can escape and the inside of the box section can breathe, however got quite a lot to do before then!!! Todays job was to finish off the boot and get the engine bay done, i managed to not take any of the boot so i'll skip to the engine bay. Found a couple of bits of rust in the turrets that needed attention but overall really solid and its now ready for ricky to finish off.   the rust here went right through so had to chop out and replace a couple of sections off inner arch as well  other side wasn't as bad, most of it cleaned up with grinder and 2 small repairs  |
|
datsian
club Member
Area Rep
Posts: 117
|
Post by datsian on May 12, 2013 21:38:22 GMT 1
Good to see a thread on the 810 SSS
|
|
datsian
club Member
Area Rep
Posts: 117
|
Post by datsian on May 12, 2013 21:41:29 GMT 1
Very nice restoration work, keep up the good work Ricky
|
|
|
|
Post by Ricky180B on May 12, 2013 21:57:02 GMT 1
|
|
datman
Senior Member
Posts: 799
Location: West Sussex/Surrey
|
Post by datman on May 13, 2013 0:39:42 GMT 1
WOW!
|
|
|
|
Post by Ricky180B on May 13, 2013 21:43:57 GMT 1
|
|
datsian
club Member
Area Rep
Posts: 117
|
Post by datsian on May 14, 2013 17:39:27 GMT 1
Ricky this definitely has the WOW factor, what colour shade is this
|
|
|
|
Post by Deleted on May 14, 2013 18:04:12 GMT 1
Looks brilliant, what an effort!!
|
|
|
|
Post by mize23 on May 14, 2013 18:48:26 GMT 1
Good job
|
|